Sourdough Bread Starter: How to Make Your Own from Scratch
Learn how to make a sourdough bread starter from scratch with just flour and water. This simple, foolproof homemade starter is the foundation for every beautiful, tangy loaf you will ever bake.

The Living Kitchen Project: How to Make Your Own Sourdough Bread Starter
There is something quietly magical about turning two simple ingredients, flour and water, into a living, bubbling culture that can leaven bread for the rest of your life. Learning how to make a sourdough starter is one of the most rewarding things a home baker can do, and despite its reputation for being finicky, the process is far more forgiving than most people expect.
Whether you are looking for a classic homemade starter, following a sour dough starter recipe how to make from scratch, or trying to finally crack the code on how that neighborhood bakery gets its bread to taste like that, you have come to exactly the right place.
What Is a Sourdough Starter, Really?
A sourdough starter, sometimes called a bread starter or a levain, is a fermented mixture of flour and water that is teeming with wild yeast and lactic acid bacteria. These two microorganisms work together in a beautiful partnership: the wild yeast produces carbon dioxide to make your dough rise, while the bacteria produce lactic and acetic acids that give sourdough its signature tang.
Unlike commercial yeast that you buy in a packet, wild yeast lives naturally in flour, in the air, and even on your hands. When you create the right warm, floury environment, those organisms wake up, multiply, and get to work. Every starter develops its own unique flavor profile based on where you live, what flour you use, and how you care for it over time.
Baker's Note: No two starters taste exactly alike. A starter made in San Francisco will taste different from one made in Vermont, even using the same flour and water ratio. That is part of what makes making sourdough starter such a personal and endlessly interesting craft.
What You Need to Get Started
The beauty of this process is how minimal the supply list is. You do not need anything exotic. That said, a few key tools and the right flour choices genuinely make a difference in how quickly and consistently your starter becomes active.
Using a kitchen scale instead of volume measurements is one of the single best upgrades you can make for any bread baking project. Flour compresses differently every time you scoop it, but grams are always grams.
For flour, starting with whole wheat flour on Day 1 gives your starter a significant head start. Whole wheat flour contains more wild yeast and natural nutrients than refined white flour, which helps jumpstart fermentation faster. After Day 1, switching to unbleached all-purpose flour keeps feeding costs low and produces a milder, more versatile starter.
The Daily Feeding Routine: What to Expect Each Day
Understanding the arc of the process helps you stay calm when things look slow or strange in the early days.
- Days 1-2: Little to no visible activity. This is normal. The environment is just getting established.
- Days 3-4: You will start to see bubbles forming and possibly a mild, sharp smell. This is the bacteria waking up.
- Days 5-6: More consistent rising and falling pattern. The smell shifts from funky to pleasantly sour and yeasty.
- Day 7: Your starter should be reliably doubling in size within 4-8 hours of a feeding and passing the float test.
The discard you remove before each feeding is not waste. It is a gift. Sourdough discard makes incredible pancakes, waffles, crackers, and flatbreads. Never throw it away without considering what else you could make with it.
Troubleshooting Tip: If your starter smells like nail polish remover or acetone, it is simply over-fermented and very hungry. Feed it promptly and it will recover. A pink or orange streak is the only true sign of harmful contamination.
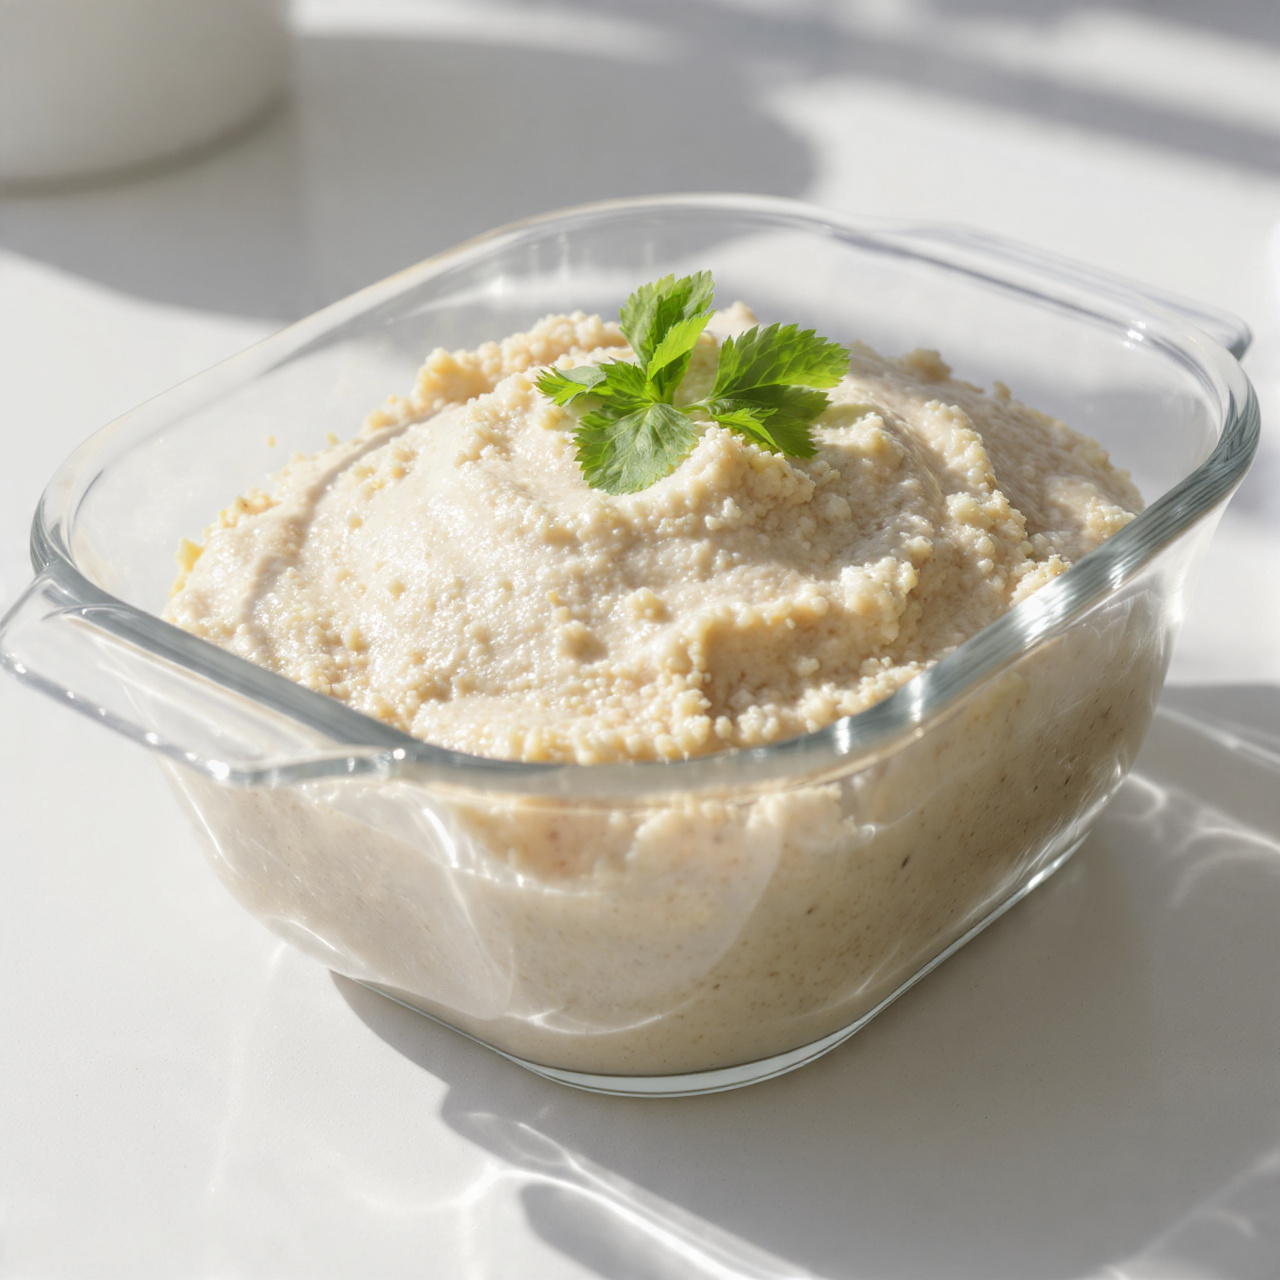
The Float Test: Knowing When Your Starter Is Ready
The most reliable way to know if your sourdough bread starter is ready to use is the float test. Drop a small spoonful of starter into a glass of room-temperature water. If it floats, it is full of enough gas bubbles to leaven bread. If it sinks, give it another feeding cycle and test again.
Combine the float test with visual observation: your starter should have visible bubbles throughout, a domed or slightly peaked top, and a smell that reminds you of yogurt, beer, or fresh sourdough bread.
Ready to build your starter and begin your sourdough journey? Here is everything you need in one place:
Sourdough Bread Starter: How to Make Your Own from Scratch
Learn how to make a sourdough bread starter from scratch with just flour and water. This simple, foolproof homemade starter is the foundation for every beautiful, tangy loaf you will ever bake.
Ingredients
- 1/4 cup whole wheat flour, for Day 1 only; unbleached preferred
- 1/4 cup all-purpose flour, unbleached; used from Day 2 onward
- 1/4 cup filtered or room-temperature water, non-chlorinated; lukewarm around 75-80 degrees F
Instruction
Day 1: In a clean glass jar or container, combine 30 g (0.25 cup) whole wheat flour with 60 ml (0.25 cup) lukewarm filtered water. Stir vigorously until no dry flour remains. The mixture should look like a thick, smooth paste. Loosely cover the jar with a lid or cheesecloth and leave it at room temperature, ideally between 70-75 degrees F. Do not seal it airtight.
Day 2: You may or may not see bubbles yet. That is completely normal. Discard half of the starter (about 50 g), then feed it with 30 g all-purpose flour and 30 ml lukewarm water. Stir well, cover loosely, and leave at room temperature.
Day 3: By now you should see some bubbling activity and perhaps a slightly tangy or funky smell. Discard half again, then feed with 30 g all-purpose flour and 30 ml lukewarm water. Stir, cover, and rest at room temperature.
Day 4: Your starter is becoming more active. Discard half, then feed with 30 g all-purpose flour and 30 ml lukewarm water. Watch for bubbles rising and the mixture starting to lift and expand between feedings.
Day 5: Repeat the discard and feed process. Your starter should now smell pleasantly sour, like yogurt or tangy beer, and show consistent bubbling within 12 hours of feeding.
Day 6: Continue once or twice daily feedings. Your starter is ready to use when it reliably doubles in size within 4-8 hours of a feeding, passes the float test (a small spoonful floats in a glass of water), and smells pleasantly sour and yeasty.
Day 7 and beyond: Once active and bubbly, your starter can be used in any sourdough bread recipe. To maintain it, continue daily feedings at room temperature or store it in the refrigerator and feed once a week.
Equipment
- Wide-mouth glass jar (at least 1 quart)
- Kitchen scale (highly recommended)
- Rubber spatula or wooden spoon
- Cheesecloth or loose-fitting lid
- Rubber band (to mark rise level)
- Thermometer (to check water temperature)
Notes
Storing and Maintaining Your Starter Long Term
Once your starter is active and you have used it to bake your first loaf, you have a few options for ongoing care.
Room temperature maintenance is ideal if you bake every day or every other day. Feed it once or twice daily and keep it somewhere consistently warm.
Refrigerator storage works beautifully if you bake once a week or less. Store the starter in a sealed jar in the fridge and feed it once a week. Before baking, pull it out, let it come to room temperature, feed it, and wait for it to peak before using.
If you ever need to take a longer break from baking, you can dry your starter by spreading a thin layer on parchment paper and letting it air dry completely, then crumbling it into flakes and storing it in a sealed bag. Dried starter can be rehydrated months later and brought back to life.
Your homemade sourdough starter is not just an ingredient. It is a living thing you care for, and with a little attention, it will reward you with some of the best bread you have ever tasted.