Easy Homemade Whole Wheat Bread
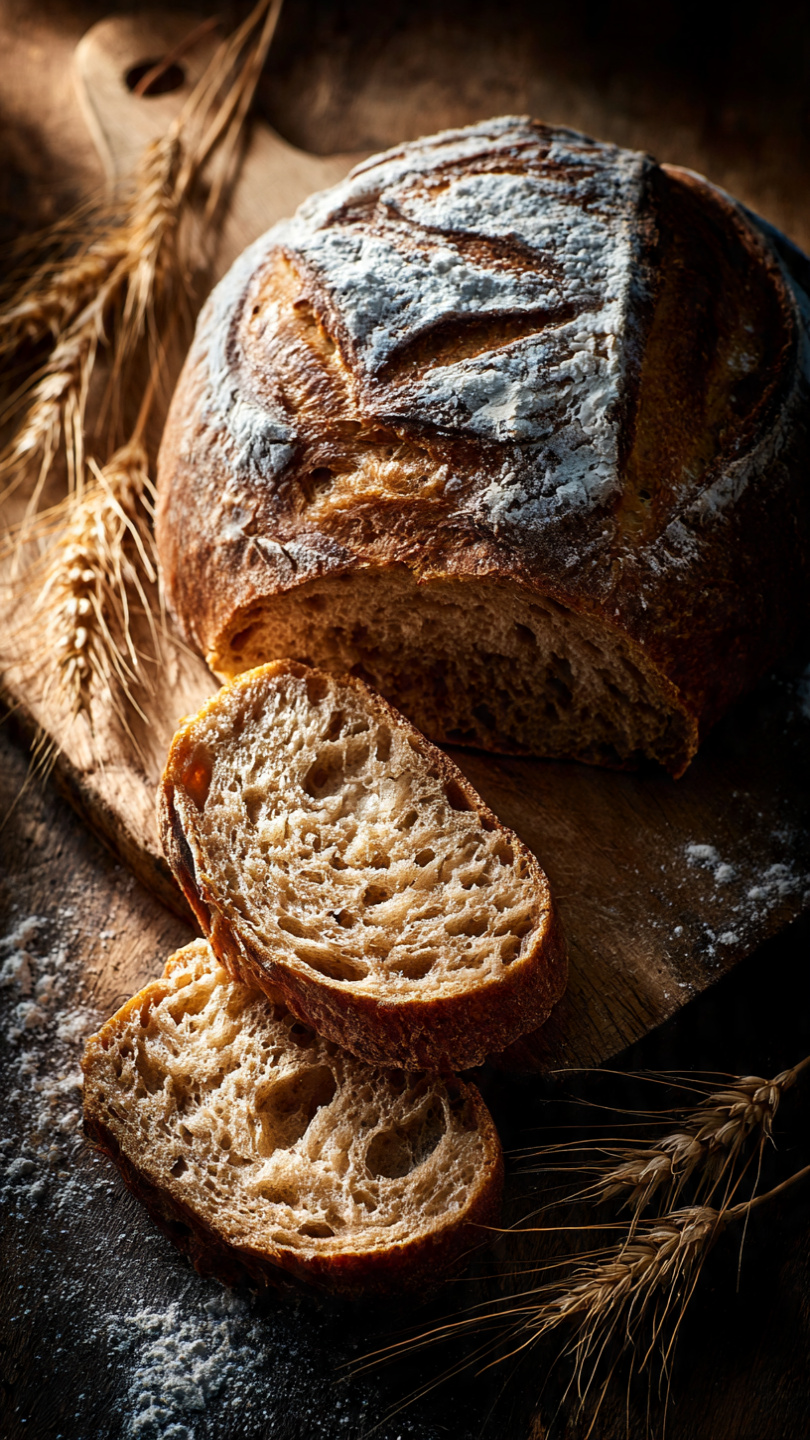
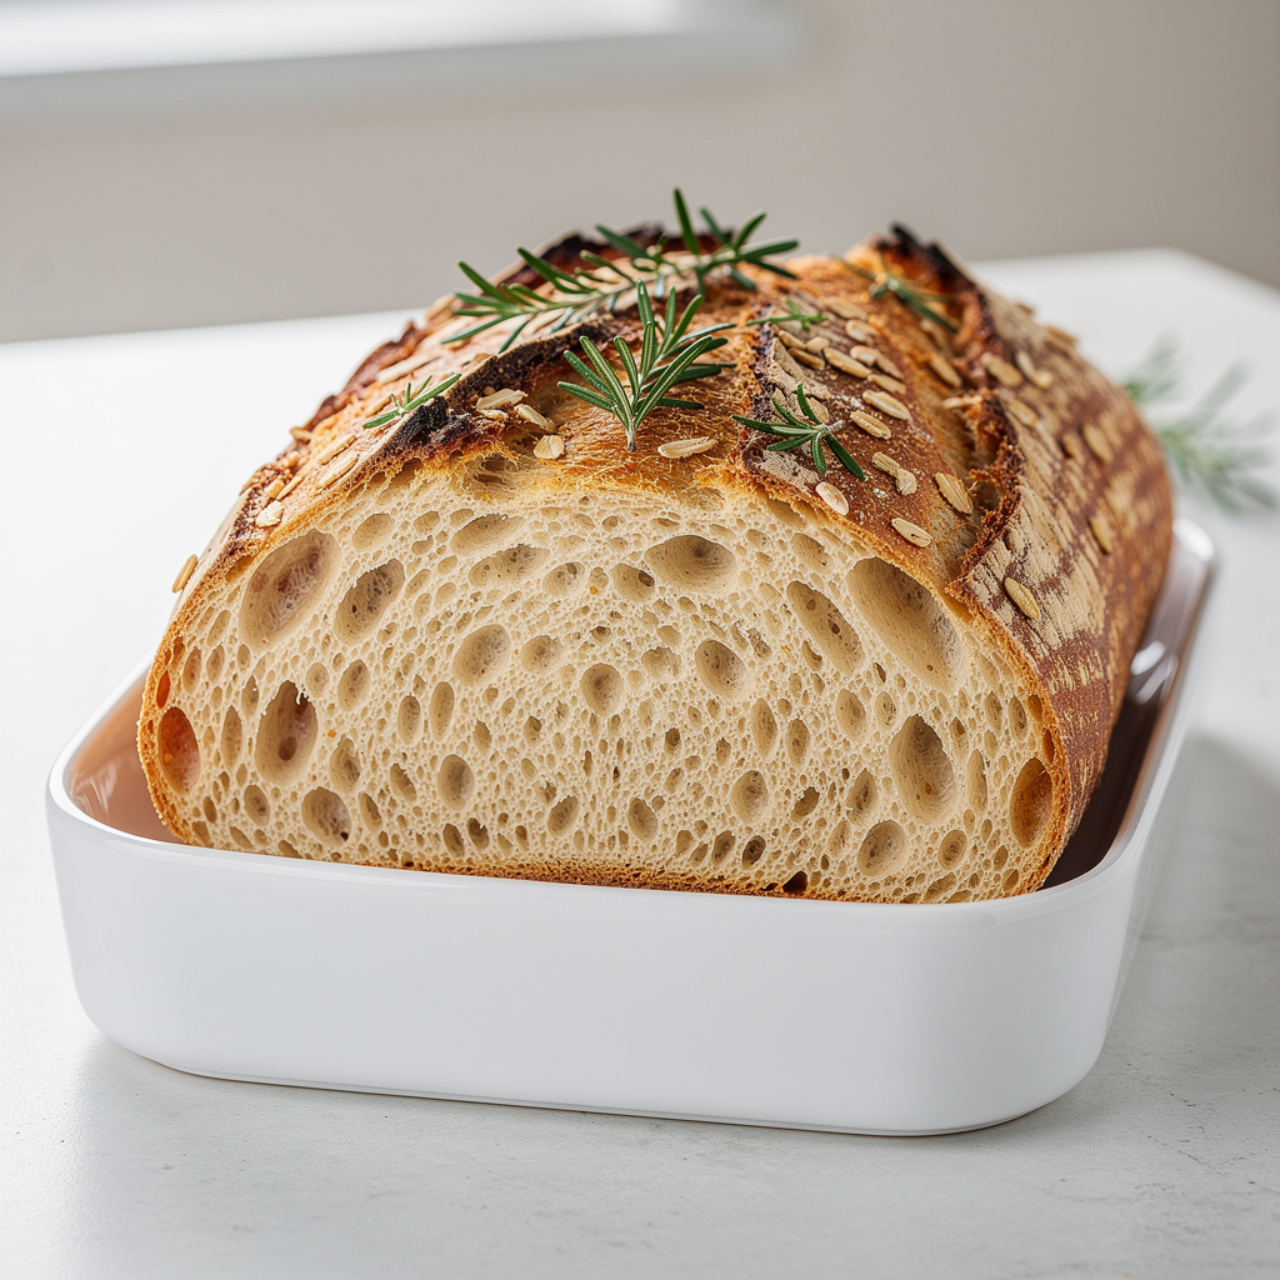
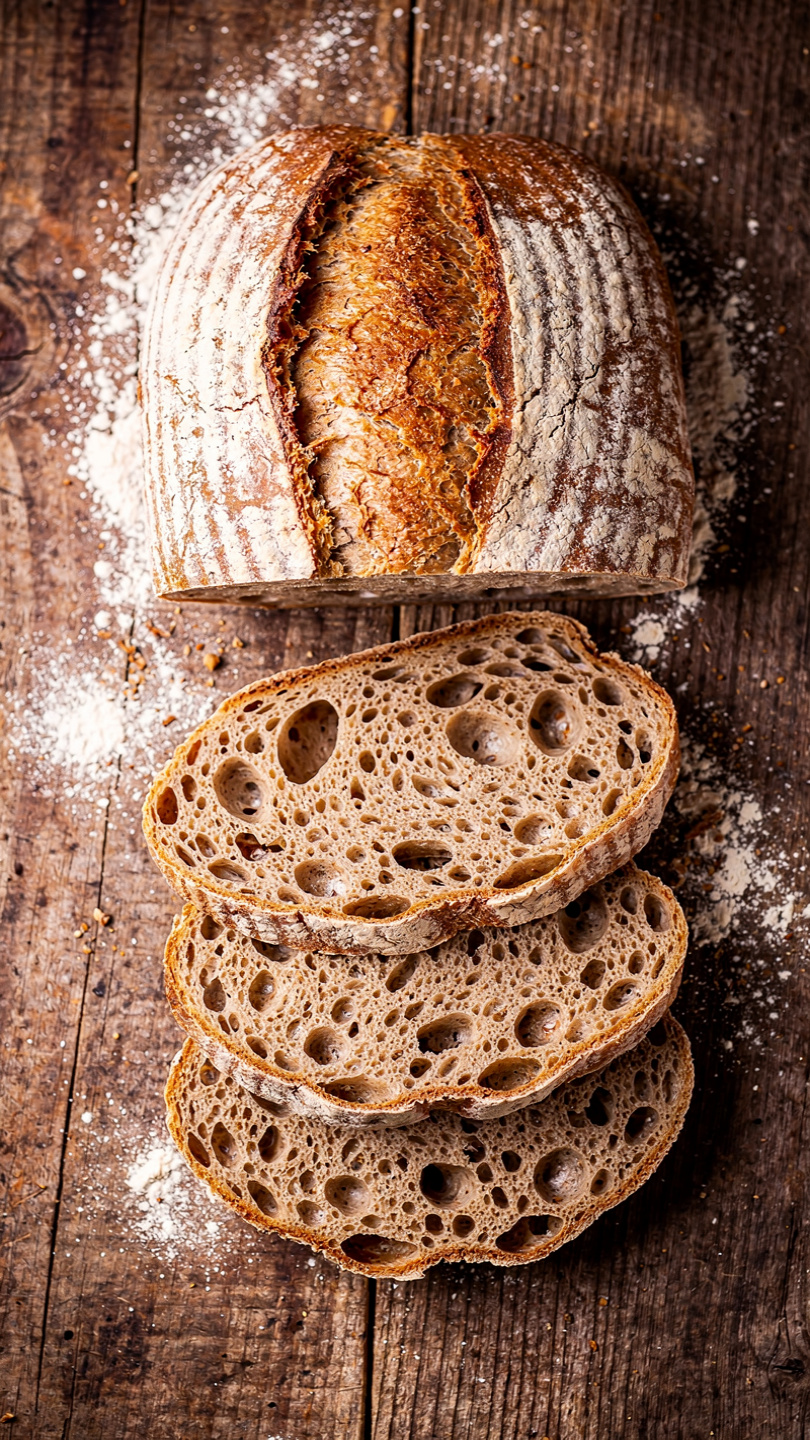
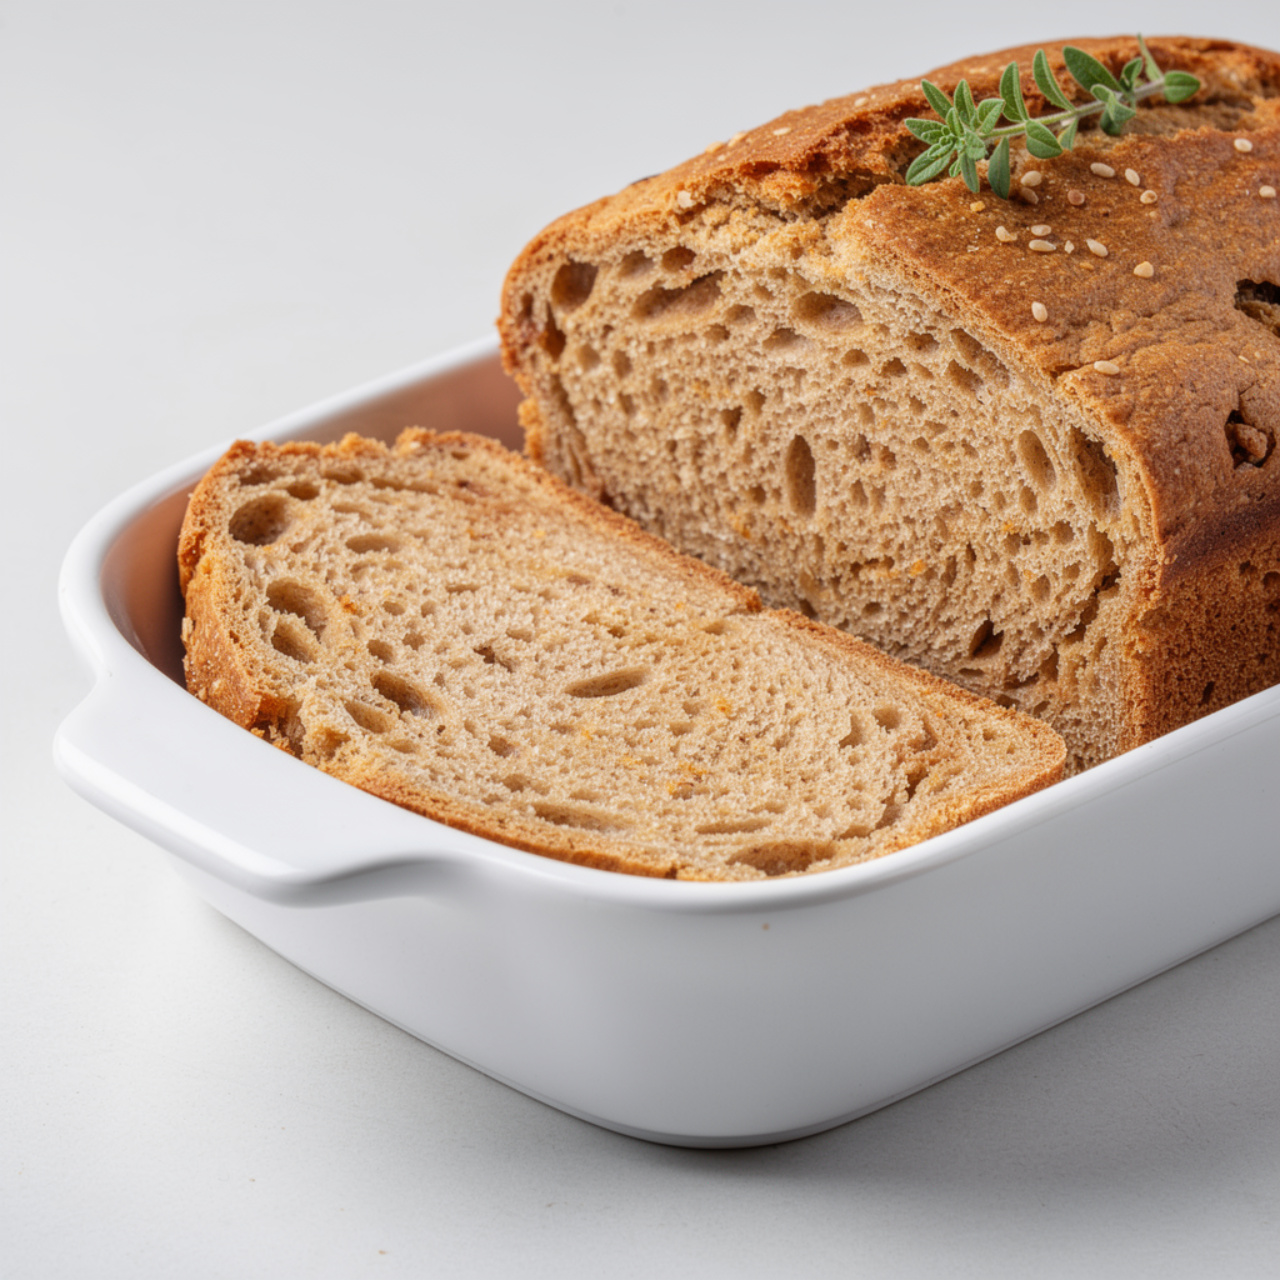
This easy homemade whole wheat bread recipe delivers a soft, hearty loaf with a golden crust, perfect for sandwiches, toast, or slicing fresh from the oven. A simple, healthy bread you can make from scratch with just a few pantry staples.

The Only Easy Whole Wheat Bread Recipe You Will Ever Need
There is something deeply satisfying about pulling a golden, fragrant loaf of homemade whole wheat bread out of the oven. The crackle of the crust, the soft and chewy crumb, the way it fills your kitchen with warmth. Once you make your own, store-bought bread starts to feel like a compromise.
This simple whole wheat bread recipe is designed for real life. It uses pantry staples, works with a stand mixer or by hand, and produces a beautiful, healthy loaf every single time. Whether you are a first-time bread baker or you have been making easy homemade whole wheat bread for years, this recipe has you covered.
Why This Recipe Works
Whole wheat flour is nutrient-dense and full of fiber, but it can produce a dense, heavy loaf if the recipe is not designed thoughtfully. A few smart choices make all the difference here:
- Blending whole wheat and all-purpose flour gives you the nutrition of whole wheat with a lighter, more tender crumb.
- Vital wheat gluten is an optional but game-changing addition. It strengthens the dough structure so your loaf rises beautifully even with all that whole grain flour.
- Honey adds just a touch of sweetness and feeds the yeast, helping the dough rise reliably.
- Two rise times build flavor and texture that a quick bread simply cannot match.
This is not just a wheat bread recipe that is healthy in name only. It genuinely delivers on whole grain goodness without sacrificing the soft, satisfying texture you want in a sandwich loaf.
Having the right tools in your corner makes a real difference when it comes to bread baking. A stand mixer with a dough hook takes the effort out of kneading, and a quality 9x5 loaf pan ensures even baking and a proper rise.
Tips for the Best Homemade Whole Wheat Bread
Bread baking is part science, part feel. Here are the things that will set your loaf apart:
Get your water temperature right. Yeast is alive, and temperature matters. Water between 105 and 115 degrees F activates yeast perfectly. Too cool and it will not wake up. Too hot and you will kill it. A kitchen thermometer removes all the guesswork.
Do not rush the rise. Whole wheat dough can take longer to rise than white flour dough. Give it a warm, draft-free spot and the full time it needs. A slightly cold kitchen? Try placing the covered bowl in your oven with just the oven light on.
Knead until the dough is smooth and elastic. Underkneaded dough produces a crumbly, dense loaf. You want the dough to pass the windowpane test: stretch a small piece gently and it should become thin enough to let light through without tearing.
Chef's Tip: If your dough feels stiff and dry, resist the urge to add a lot of extra flour. A slightly sticky dough bakes into a much more tender crumb than an over-floured one.
KitchenAid Whole Wheat Bread Tips
If you are using a KitchenAid stand mixer for this whole wheat quick bread approach, attach the dough hook and mix on speed 2. Start with the flour added gradually rather than all at once to prevent flour clouds. Knead on medium speed for 6 to 8 minutes. The dough should pull cleanly away from the sides of the bowl and feel smooth when you press it. This method is hands-off and consistent, making it the easiest way to produce a reliable loaf every time.
Ready to bake your own loaf? Here is the complete, step-by-step recipe:
Easy Homemade Whole Wheat Bread
This easy homemade whole wheat bread recipe delivers a soft, hearty loaf with a golden crust, perfect for sandwiches, toast, or slicing fresh from the oven. A simple, healthy bread you can make from scratch with just a few pantry staples.
Ingredients
- 3 cups whole wheat flour, spooned and leveled, not packed
- 1 cup all-purpose flour, plus more for kneading
- 2 1/4 tsp active dry yeast, one standard packet
- 1 1/4 cups warm water, between 105 and 115 degrees F
- 2 tbsp honey, or maple syrup for vegan option
- 2 tbsp olive oil, plus more for greasing the bowl
- 1 1/2 tsp salt, fine sea salt or kosher salt
- 1 tbsp vital wheat gluten, optional but highly recommended for a lighter loaf
Instruction
In a large bowl or the bowl of a stand mixer, combine the warm water and honey. Sprinkle the yeast over the top and let it sit for 5 to 10 minutes, until foamy and fragrant. If it does not foam, your yeast may be old or the water too hot. Start over with fresh yeast.
Add the olive oil and salt to the yeast mixture and stir to combine.
Add the whole wheat flour, all-purpose flour, and vital wheat gluten (if using) to the bowl. Stir with a wooden spoon or dough hook until a shaggy dough forms.
Turn the dough out onto a lightly floured surface and knead by hand for 8 to 10 minutes, until smooth and elastic. Alternatively, knead with the dough hook on a stand mixer on medium speed for 6 to 8 minutes. The dough should be slightly tacky but not sticky.
Shape the dough into a ball and place it in a lightly oiled bowl, turning once to coat. Cover with a clean kitchen towel or plastic wrap and let it rise in a warm spot for 1 to 1.5 hours, until doubled in size.
Punch the dough down gently to release the air. Transfer it to a lightly floured surface and shape it into a tight log the length of your 9x5 inch loaf pan.
Place the shaped dough seam-side down into a greased 9x5 inch loaf pan. Cover loosely and let it rise again for 45 to 60 minutes, until the dough crowns about 1 inch above the rim of the pan.
Preheat your oven to 375 degrees F (190 degrees C) during the second rise.
Bake the loaf for 30 to 35 minutes, until the top is deep golden brown and the loaf sounds hollow when tapped on the bottom. An instant-read thermometer inserted into the center should read 190 to 200 degrees F.
Remove the bread from the pan immediately and transfer it to a wire rack. Let it cool for at least 20 minutes before slicing to allow the crumb to set properly.
Equipment
- Stand mixer with dough hook (or large mixing bowl)
- 9x5 inch loaf pan
- Kitchen towel or plastic wrap
- Wire cooling rack
- Instant-read thermometer
Notes
Serving and Storing Your Loaf
Let the bread cool on a wire rack for at least 20 minutes before slicing. Cutting too soon lets steam escape and can leave you with a gummy interior, even if the outside looks perfect.
This bread is wonderful for:
- Sandwiches with turkey, avocado, or your favorite fillings
- Toast with almond butter and honey for a wholesome breakfast
- Soup dippers alongside a warm bowl of tomato or lentil soup
- French toast the next morning when it is a day old
Store at room temperature wrapped in a clean kitchen towel for up to 5 days, or slice and freeze the whole loaf for up to 3 months. This easy bread recipe whole wheat style also makes a wonderful gift. Wrap a cooled loaf in parchment, tie it with twine, and you have something truly thoughtful.