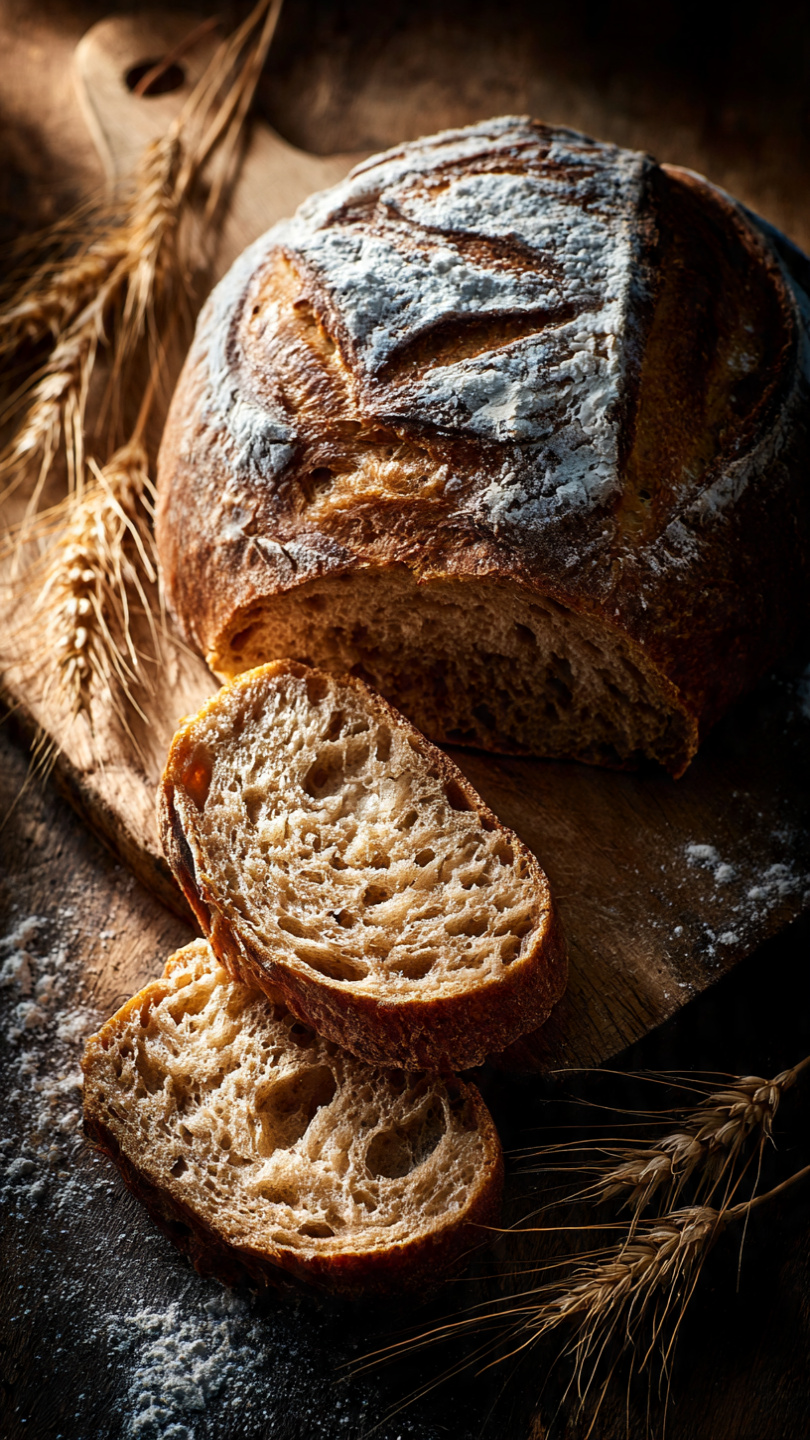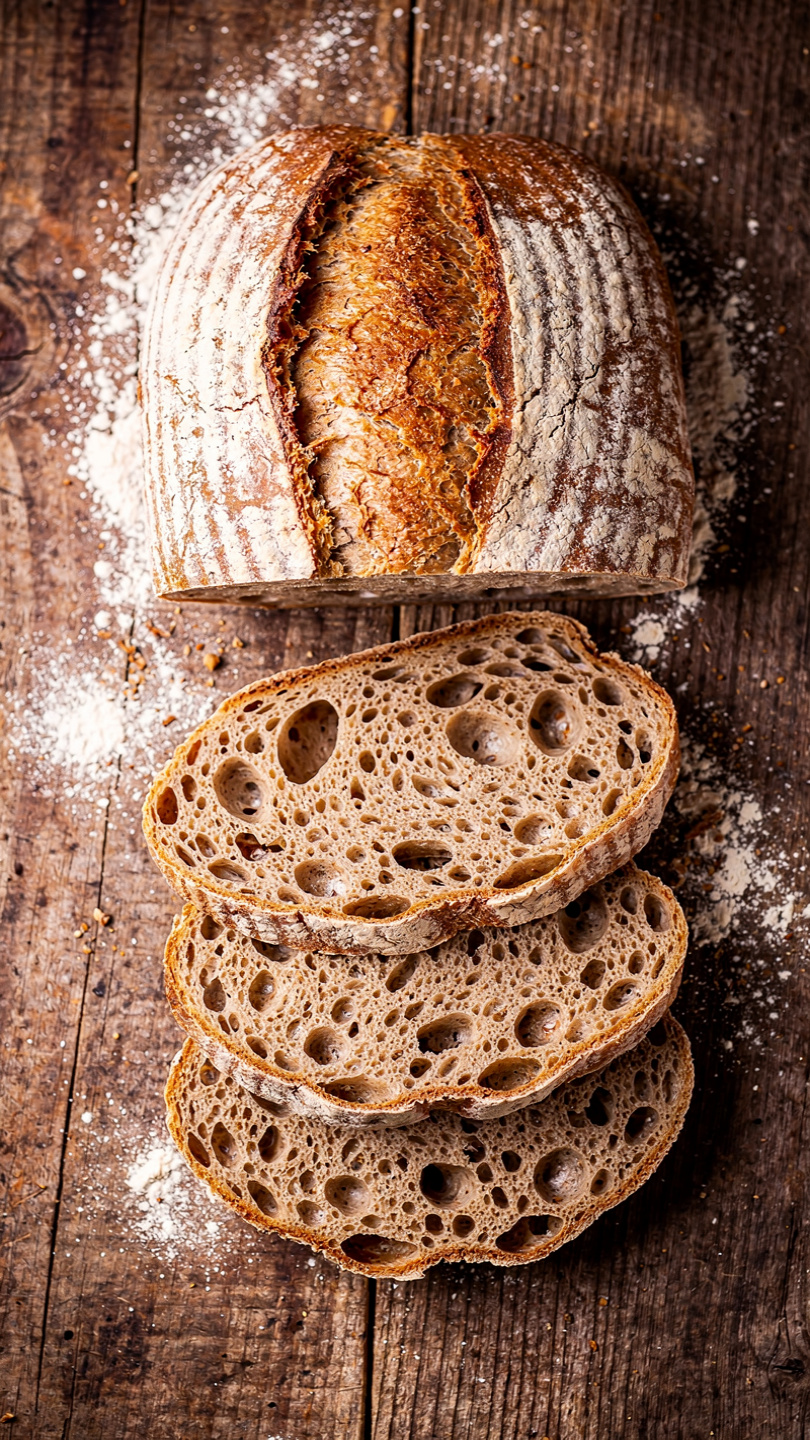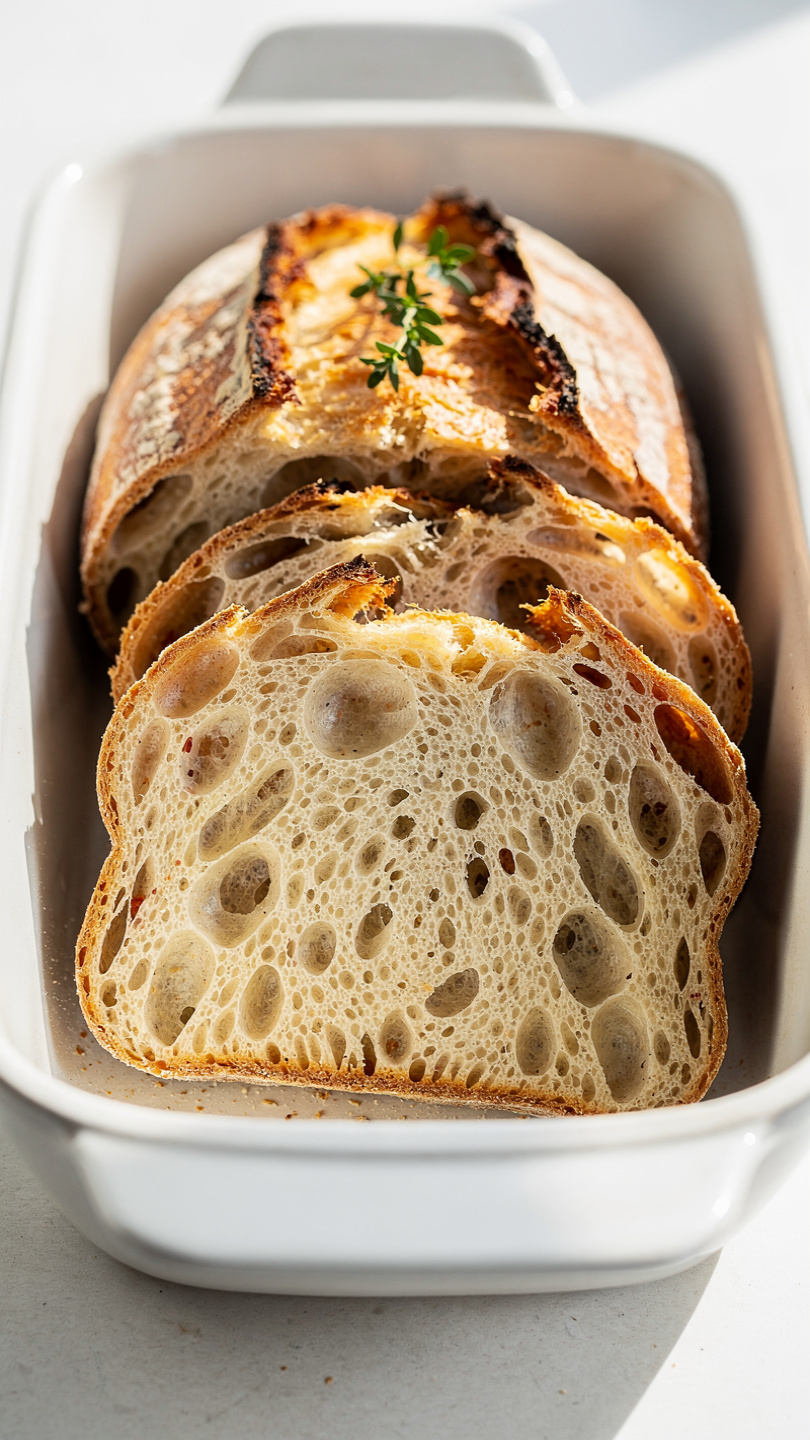
Sourdough Discard Bread (Easy Sandwich Loaf)
This easy sourdough discard bread bakes into a soft, tangy sandwich loaf that uses up your starter discard beautifully. No long fermentation needed, just simple ingredients and incredible flavor.

The Best Thing You Can Do With Sourdough Discard
If you keep a sourdough starter, you already know the ritual. Feed it, discard half, repeat. For a long time, that discarded portion felt like a small, unavoidable waste. Then you discover sourdough discard bread, and suddenly that tangy, bubbly byproduct becomes the most valuable thing in your kitchen.
This easy sourdough discard sandwich bread recipe is the one I come back to every single week. It is soft enough for a grilled cheese, sturdy enough for a stacked deli sandwich, and packed with that subtle, fermented tang that store-bought bread simply cannot replicate. It is not a beginner sourdough loaf in the intimidating sense. There is no scoring technique to master, no Dutch oven required, and no 24-hour timeline. This is a quick sourdough discard bread that fits into a real morning or afternoon.
Whether you are new to baking or just looking for a reliable sourdough discard sandwich loaf to add to your weekly rotation, this recipe delivers every time.
Why This Recipe Works
Most traditional sourdough loaves rely entirely on a live, active starter for leavening, which means timing everything around your starter's peak activity. This recipe takes a smarter shortcut for busy bakers: commercial yeast does the heavy lifting while the discard contributes flavor, a slightly open crumb, and that signature sourdough character.
The result is a loaf that tastes genuinely homemade and fermented, but follows a predictable, manageable timeline. Here is what makes it special:
- Sourdough discard adds real flavor without requiring your starter to be freshly fed or at peak
- Bread flour gives the crumb structure while keeping the interior soft and sliceable
- Honey adds a touch of sweetness that balances the tang and helps with browning
- Two rises keep the texture light and prevent the density that plagues many quick loaves
Baker's Note: The older your discard, the tangier your bread. A week-old discard from the back of the fridge will give you a more pronounced sourdough flavor than one that is only a day old. Both work beautifully.
The Tools and Ingredients That Actually Matter Here
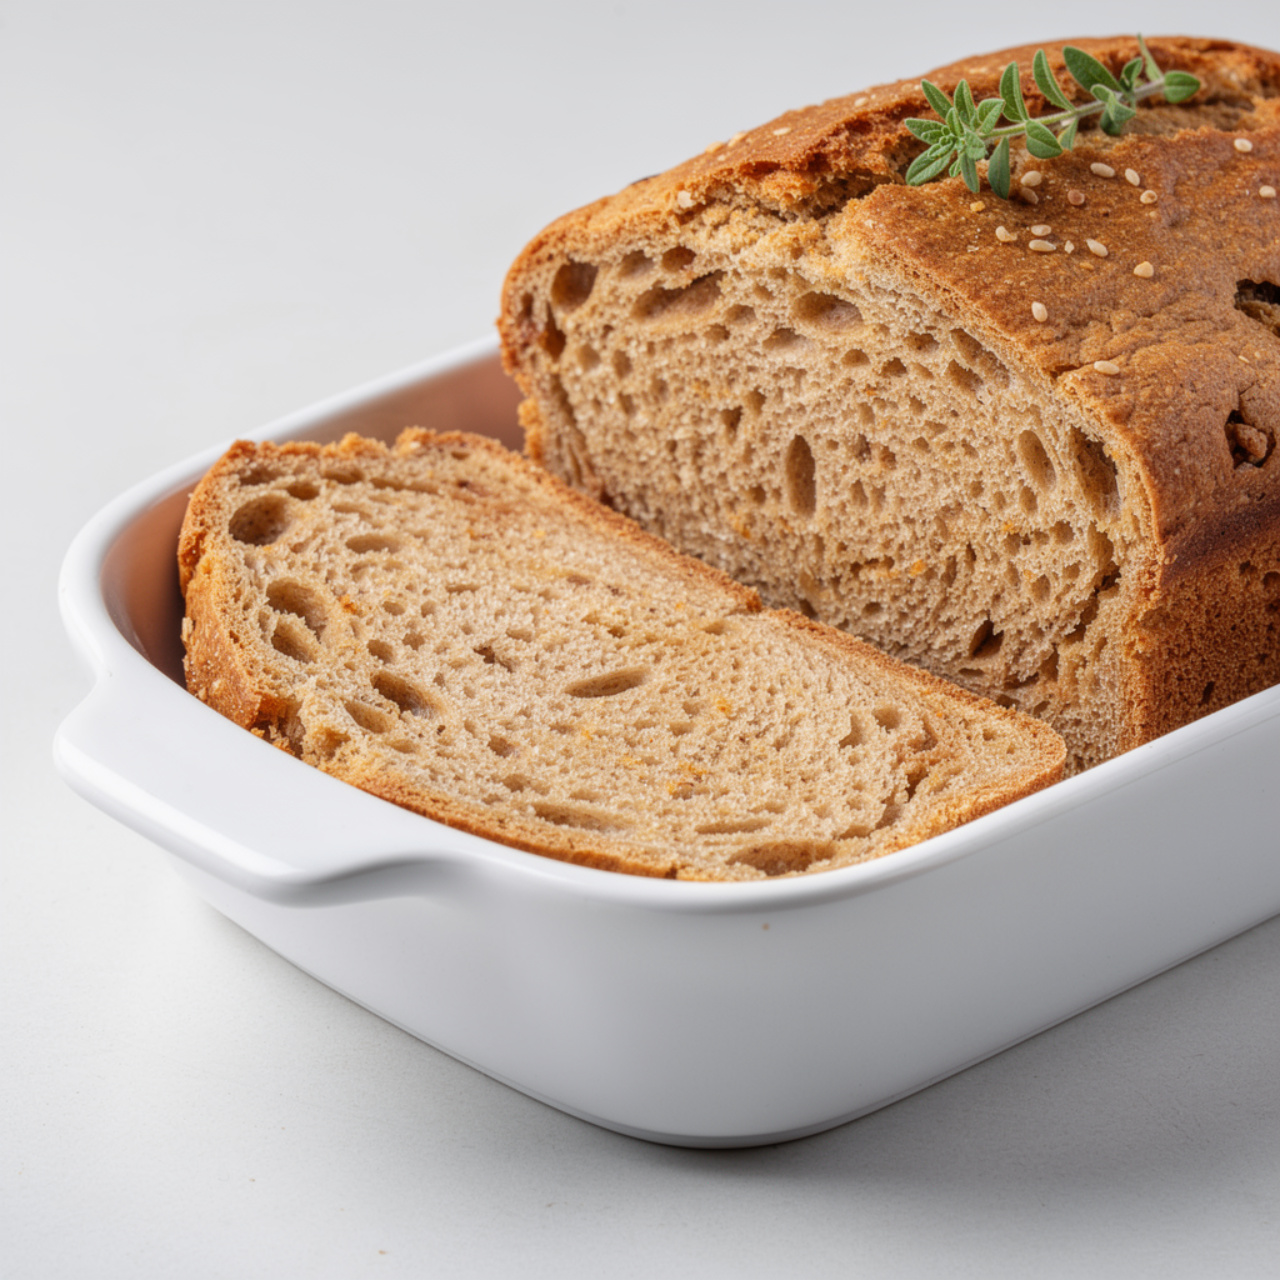
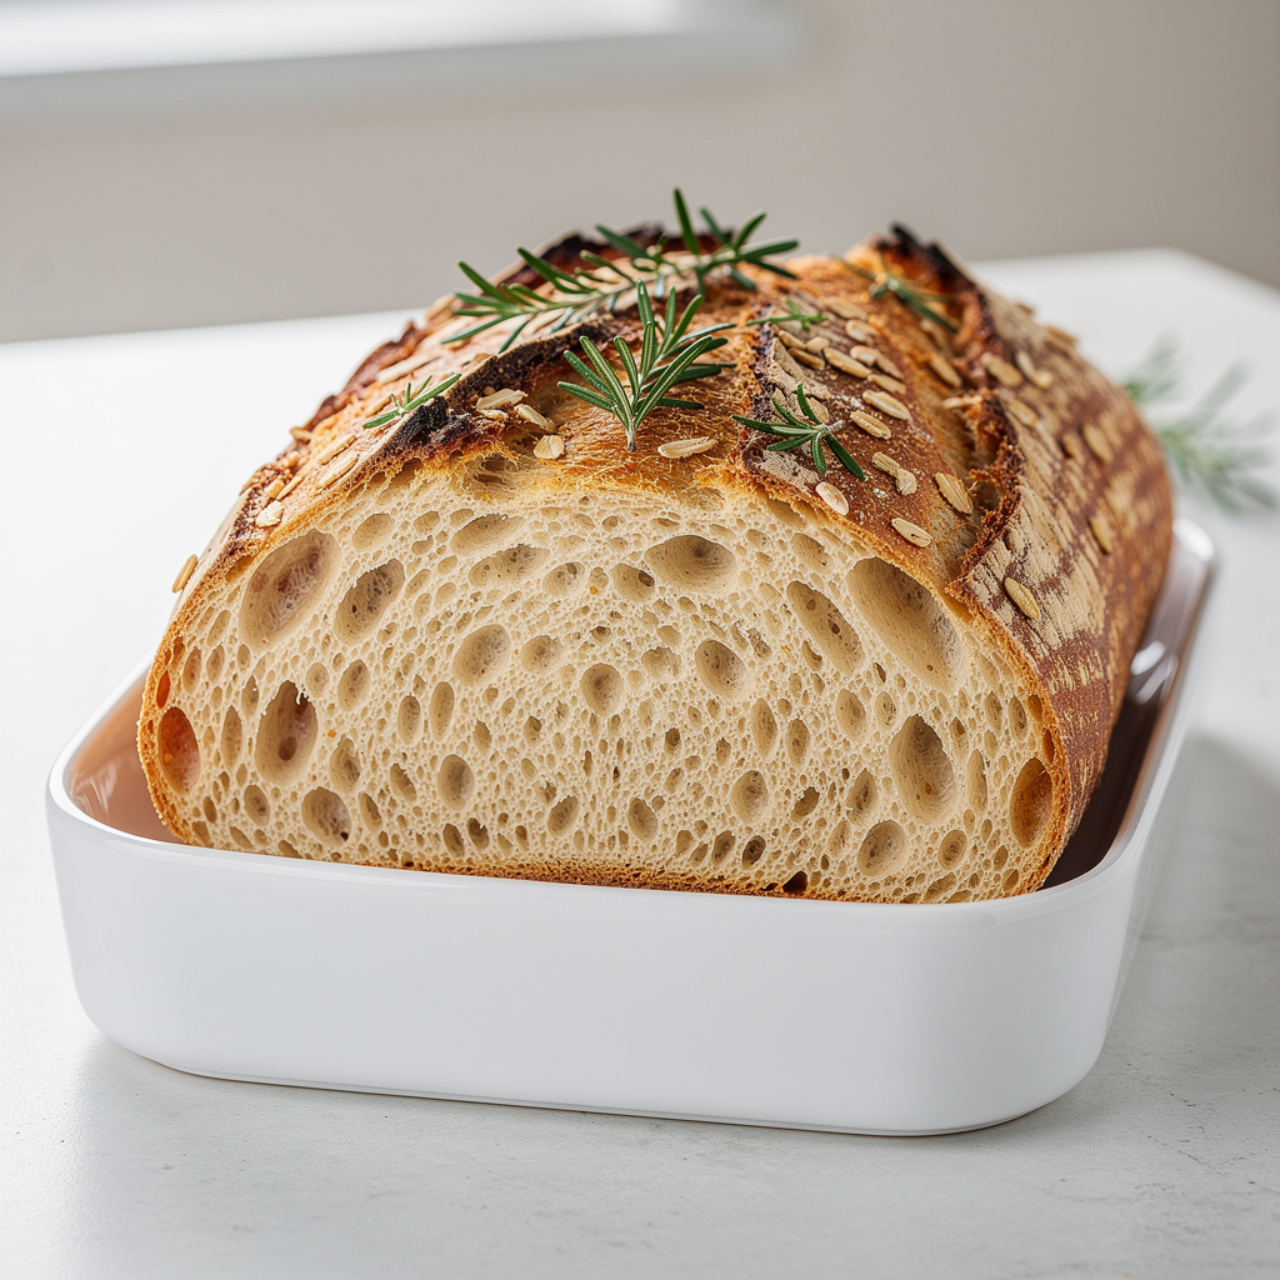
Bread baking rewards consistency, and having the right equipment makes a noticeable difference in your results. A 9x5 inch loaf pan with straight sides gives you that classic sandwich bread shape, and an instant-read thermometer takes all the guesswork out of knowing when your loaf is perfectly baked through.
Choosing Your Flour
This is a sourdough discard sandwich bread recipe, so the flour choice matters more than in some other bakes. Bread flour is the first choice because its higher protein content (around 12 to 13 percent) builds stronger gluten networks, giving you a chewier, more structured crumb that holds up to sandwiches.
That said, all-purpose flour is a perfectly valid swap. The loaf will be slightly softer and a little more tender, which some people actually prefer for everyday sandwich bread. Avoid cake flour or self-rising flour here.
If you want to add some whole wheat character, you can substitute up to half a cup of the bread flour with whole wheat flour without adjusting anything else. More than that and you will want to add an extra tablespoon or two of water to compensate for absorption.
Tips for a Perfect Rise Every Time
The two most common points of failure in any yeast bread are dead yeast and an environment that is too cold for rising. Here is how to avoid both:
- Proof your yeast first. Combine it with warm water (around 110 degrees F) and a bit of honey, then wait 5 to 10 minutes. If it does not foam and smell yeasty, start over with a fresh packet.
- Find a warm spot. Yeast is happiest between 75 and 85 degrees F. In a cool kitchen, try placing the covered bowl in an oven with just the light on, or set it near a warm stovetop.
- Do not rush the second rise. The dough should crown at least one inch above the rim of the pan before it goes into the oven. Under-proofed dough bakes into a dense, brick-like loaf.
- Use a thermometer, not just color. A deep golden crust is a good sign, but the interior should read between 190 and 200 degrees F to be fully baked through.
Chef's Tip: If you notice the top browning too quickly before the loaf is done, tent it loosely with a piece of aluminum foil for the last 10 minutes of baking.
What to Do With Your Sourdough Discard Sandwich Loaf
Once you have baked this loaf a couple of times, it becomes a genuine weekly staple. Here are some of our favorite ways to use it:
- Classic avocado toast with flaky salt and chili flakes on thick-cut slices
- French toast made the next day when the bread is slightly dry and soaks up custard beautifully
- Grilled cheese where the sturdy crumb holds its shape without getting soggy
- Croutons from any end pieces or slices that have gone a little stale
This easy sourdough sandwich bread recipe also freezes so well that many bakers make two loaves at once. Slice before freezing so you can pull out exactly what you need.
Ready to bake your best loaf yet? Here is everything you need:
Sourdough Discard Bread (Easy Sandwich Loaf)
This easy sourdough discard bread bakes into a soft, tangy sandwich loaf that uses up your starter discard beautifully. No long fermentation needed, just simple ingredients and incredible flavor.
Ingredients
- 1 cup sourdough discard, unfed, room temperature
- 1/2 cup warm water, about 110 degrees F
- 2 1/4 tsp active dry yeast, one standard packet
- 2 tbsp honey, or granulated sugar
- 2 tbsp unsalted butter, melted and slightly cooled
- 1 1/2 tsp fine sea salt
- 3 cups bread flour, plus more for dusting; all-purpose flour works too
- 1 tsp neutral oil, for greasing the bowl
Instruction
In a small bowl, combine the warm water, honey, and active dry yeast. Stir gently and let it sit for 5 to 10 minutes until foamy and fragrant. If it does not foam, your yeast may be expired.
In a large mixing bowl (or the bowl of a stand mixer), combine the sourdough discard, melted butter, and salt. Pour in the activated yeast mixture and stir to combine.
Add the bread flour one cup at a time, mixing between each addition. Once a shaggy dough forms, turn it out onto a lightly floured surface and knead by hand for 8 to 10 minutes until smooth and elastic. If using a stand mixer with a dough hook, knead on medium speed for 6 to 7 minutes.
Shape the dough into a ball and place it in a lightly oiled bowl. Cover with plastic wrap or a damp towel and let it rise in a warm spot for 1 to 1.5 hours, or until doubled in size.
Grease a 9x5 inch loaf pan. Punch down the risen dough and shape it into a tight log roughly the length of the pan. Place it seam-side down into the prepared pan.
Cover loosely and let the dough rise again for 45 to 60 minutes, until it crowns about one inch above the rim of the pan.
Preheat your oven to 375 degrees F (190 degrees C). Optionally, slash the top of the loaf with a sharp knife or bread lame.
Bake for 35 to 40 minutes, until the top is deep golden brown and the internal temperature reads 190 to 200 degrees F (88 to 93 degrees C) on an instant-read thermometer.
Remove the loaf from the pan immediately and let it cool on a wire rack for at least 30 minutes before slicing. Cutting too early releases steam and can make the crumb gummy.
Equipment
- Large mixing bowl
- Stand mixer with dough hook (optional)
- 9x5 inch loaf pan
- Plastic wrap or damp kitchen towel
- Instant-read thermometer
- Wire cooling rack
- Bench scraper (optional)
- Bread lame or sharp knife
Notes
Storing and Making Ahead
This sourdough discard loaf stays fresh at room temperature for 2 to 3 days when wrapped tightly. Because it is free of preservatives, it stales faster than commercial bread, but it also toasts and freezes far better.
For make-ahead baking, shape the loaf, place it in the pan, cover tightly, and refrigerate overnight. The next morning, let it rest at room temperature for 30 to 45 minutes while the oven heats up, then bake as usual. This cold proof deepens the sourdough flavor noticeably and is absolutely worth trying once you are comfortable with the base recipe.
For longer storage, slice the cooled loaf completely, layer parchment between the slices, and freeze in a zip-top bag for up to 2 months. Individual slices go straight from the freezer into the toaster without any thawing needed.