Homemade Sourdough Bread: The Only Recipe You Will Ever Need
Learn how to bake a stunning homemade sourdough bread with a crackling crust and chewy, open crumb using just flour, water, salt, and your sourdough starter. This foolproof sourdough bread recipe works for beginners and seasoned bakers alike.

The Sourdough Bread That Will Change How You Think About Baking
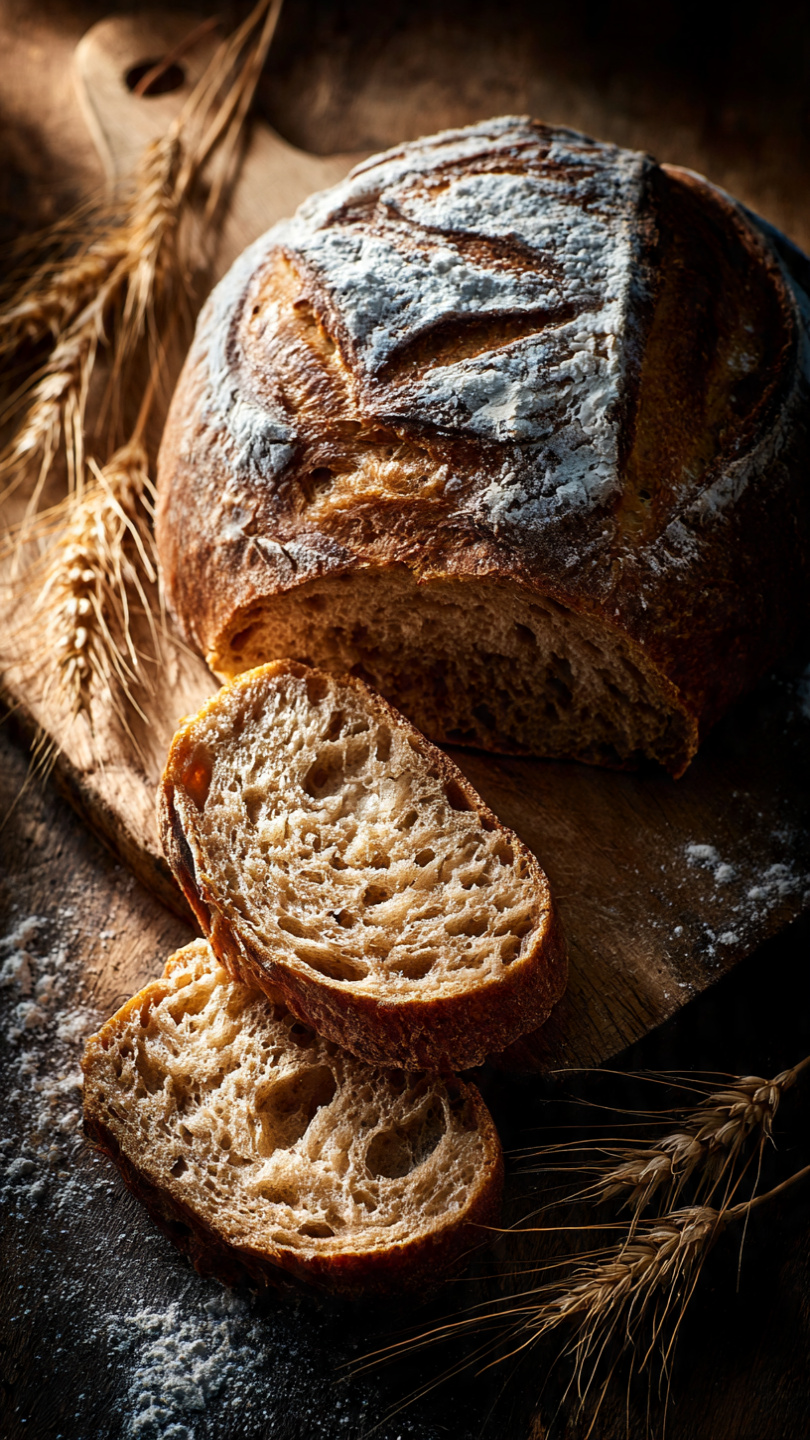
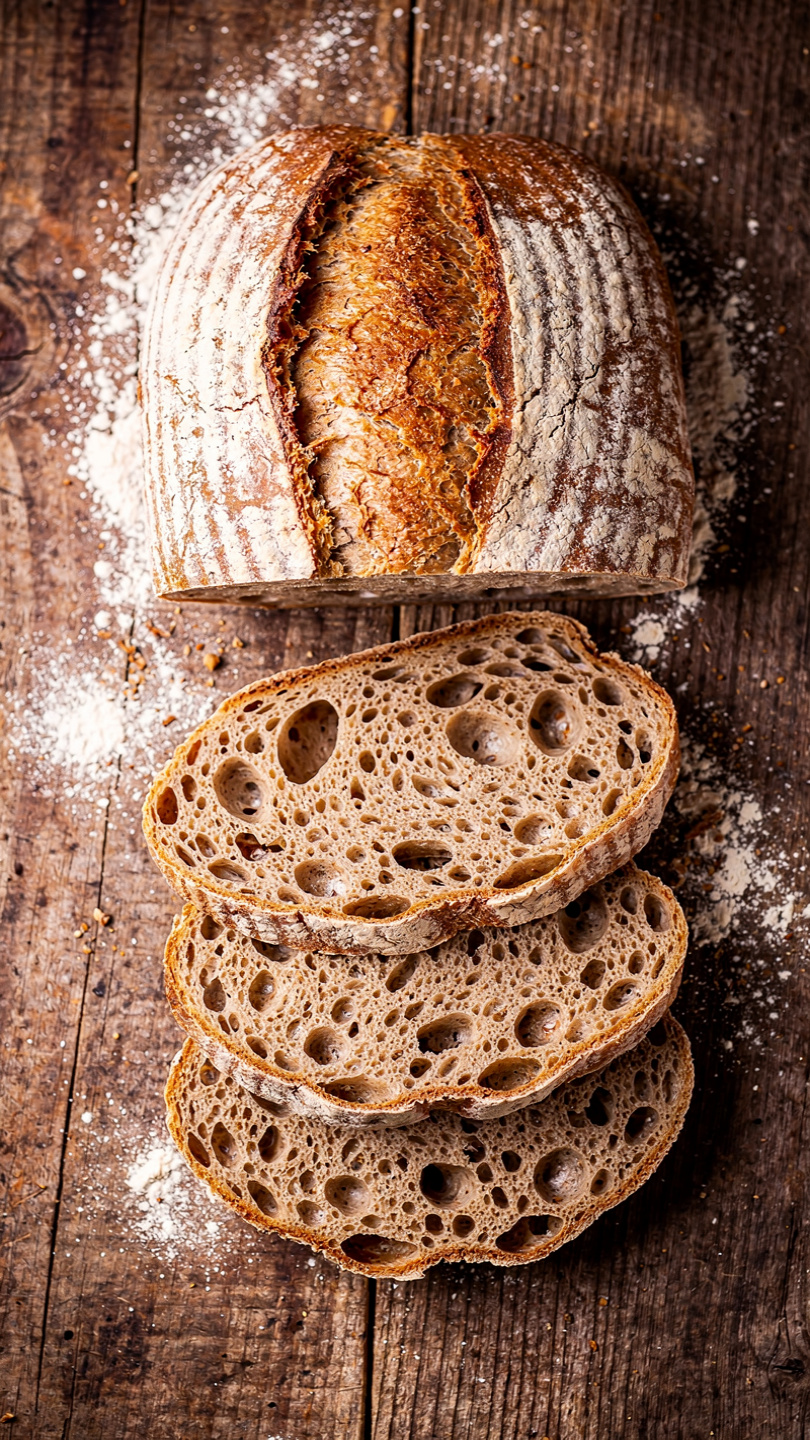
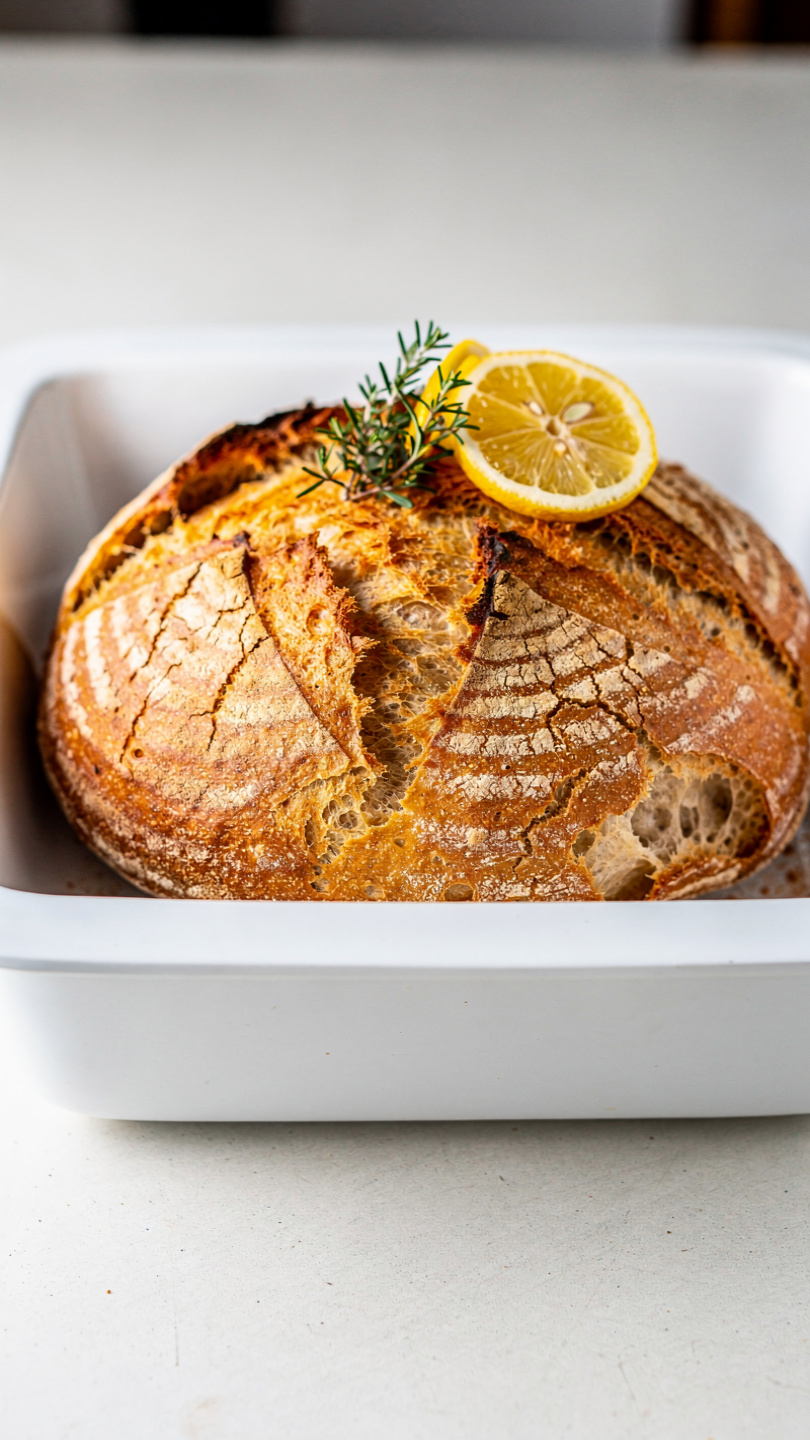
There is something almost magical about pulling a golden, crackling homemade sourdough bread out of the oven. The blistered crust. That unmistakable tangy aroma curling through your kitchen. The satisfying crackle as the loaf cools on the rack. This is not just bread. It is an experience, and once you bake your first successful loaf, you will wonder how you ever bought the packaged stuff.
This sourdough bread recipe is the one I come back to every single week. It uses nothing but flour, water, salt, and a lively sourdough starter, which means the flavor comes entirely from fermentation. No shortcuts. No commercial yeast. Just slow, patient, beautiful baking that rewards you with a loaf that is equal parts rustic and extraordinary.
Whether you are working through a sourdough starter recipe for the first time, looking for a reliable pan de masa madre, or simply chasing that perfect open crumb you keep seeing in your feed, this guide has everything you need.
What Makes This Sourdough Starter Discard Recipe Different
A lot of homemade sourdough bread tutorials throw you into advanced techniques without building a foundation first. This recipe meets you where you are. The process is broken into clear, manageable windows so it fits around a real schedule. You mix one evening, do a few easy stretch-and-folds, refrigerate overnight, and bake the next morning. The cold fermentation does the heavy lifting while you sleep.
The flavor profile here leans into that classic tangy complexity without becoming aggressively sour. A longer cold proof deepens the flavor naturally, so if you love a bold sourdough character, simply leave it in the fridge for the full 24 hours.
Chef's Tip: The single biggest factor in a successful bake is your starter. It must be active, bubbly, and at peak rise when you use it. Feed it 4 to 8 hours before mixing your dough, and look for it to have doubled in size with a domed top. A sluggish starter will always result in a flat, dense loaf no matter how perfect your shaping is.
The Tools That Actually Matter for Sourdough Baking
Good sourdough baking is forgiving of imperfect technique, but having the right tools genuinely removes frustration and gives you a professional result at home. A heavy Dutch oven is non-negotiable for trapping steam and creating that bakery-quality crust, and a sharp bread lame makes scoring clean and confident.
Understanding Your Sourdough Starter
If you are new to this world, your sourdough starter is a living culture of wild yeast and beneficial bacteria that you feed with flour and water on a regular schedule. The wild yeast gives the bread its rise, and the bacteria produce the organic acids that create that signature tang. A recipe using sourdough starter that is properly maintained will give you consistent, reliable results every time.
Not sure if yours is ready? Try the float test: drop a small spoonful of starter into a glass of cool water. If it floats, you are good to bake. If it sinks, feed it and give it a few more hours.
For this recipe, your starter should be:
- Fed within the last 4 to 8 hours
- Visibly bubbly and airy throughout
- Doubled in volume from its post-feed low
- Smelling pleasantly tangy and yeasty, not like nail polish remover
Note on Sourdough Starter Discard: If you have leftover unfed starter sitting in the fridge, do not toss it. Sourdough starter discard recipes like pancakes, waffles, pizza dough, and pull apart bread are incredible ways to use it up. For this loaf, however, you need the fully active version.
The Art of Stretch and Fold
Forget aggressive kneading. Sourdough baking relies on a gentler technique called stretch and fold to develop gluten strength while preserving the gas bubbles built up during fermentation. Every 30 minutes during the bulk ferment, you simply grab one side of the dough, stretch it up high, and fold it over itself. Rotate the bowl a quarter turn and repeat four times total.
After four rounds of this, your dough transforms. It goes from sticky and slack to something smooth, elastic, and alive under your hands. This is the moment when sourdough baking stops feeling like a chore and starts feeling like a craft.
Shaping Your Boule for a Beautiful Crust
Shaping is where beginners often lose confidence, but it is simpler than it looks. The goal is to create surface tension on the outside of the dough so it holds its shape as it bakes and rises upward rather than spreading outward. A bench scraper is your best friend here. Use it to drag the shaped round toward you in short, firm strokes to tighten the skin of the dough.
After shaping, the dough goes into a banneton proofing basket dusted generously with rice flour. Rice flour is key because it does not absorb moisture the way wheat flour does, which means your dough will release cleanly when you flip it.
Ready to make it? Here is the full step-by-step recipe:
Homemade Sourdough Bread: The Only Recipe You Will Ever Need
Learn how to bake a stunning homemade sourdough bread with a crackling crust and chewy, open crumb using just flour, water, salt, and your sourdough starter. This foolproof sourdough bread recipe works for beginners and seasoned bakers alike.
Ingredients
- 4 cups bread flour, plus more for dusting; all-purpose flour works in a pinch
- 1 3/8 cups warm water, around 90 degrees F (32 degrees C)
- 1/2 cup active sourdough starter, fed and bubbly, at peak activity
- 1 1/2 tsp fine sea salt
- 2 tbsp rice flour, for dusting the banneton; prevents sticking
Instruction
Mix the starter and water: In a large mixing bowl, combine the active sourdough starter with the warm water. Stir until the starter is mostly dissolved and the mixture looks milky and slightly foamy.
Add the flour: Pour in the bread flour and mix with your hands or a dough whisk until no dry flour remains. The dough will look shaggy and rough at this stage. Cover the bowl with a damp towel and let it rest for 30 to 45 minutes (this is the autolyse phase).
Add the salt: Sprinkle the sea salt over the dough. Wet your fingers and squeeze the salt into the dough, folding and pinching until fully incorporated, about 2 minutes.
Stretch and fold: Over the next 2 to 3 hours, perform 4 sets of stretch-and-folds, spaced 30 minutes apart. For each set, grab one side of the dough, stretch it up high, and fold it over the center. Rotate the bowl 90 degrees and repeat 3 more times.
Bulk fermentation: After the final fold, cover the bowl and let the dough bulk ferment at room temperature (around 75 degrees F / 24 degrees C) for an additional 2 to 4 hours, until it has grown by about 50 percent and looks airy with bubbles on the surface.
Shape the loaf: Lightly flour your work surface. Gently turn the dough out and shape it into a tight round boule by folding the edges toward the center and flipping it seam-side down. Use a bench scraper to drag it toward you to build tension on the surface.
Cold proof: Dust a banneton or a bowl lined with a floured kitchen towel generously with rice flour. Place the dough seam-side up into the banneton, cover loosely with plastic wrap or a shower cap, and refrigerate for 8 to 16 hours (overnight is ideal).
Preheat: When ready to bake, place a Dutch oven with its lid inside your oven and preheat to 500 degrees F (260 degrees C) for at least 45 to 60 minutes.
Score and bake: Tear off a piece of parchment paper sized to fit your Dutch oven. Flip the cold dough onto the parchment, seam-side down. Use a sharp bread lame or razor blade to score the top with one confident slash at a 30-degree angle. Carefully lower the dough and parchment into the screaming-hot Dutch oven, cover with the lid, and bake for 20 minutes.
Finish the bake: Remove the lid, reduce the oven temperature to 450 degrees F (230 degrees C), and bake for another 20 to 25 minutes until the crust is a deep mahogany brown. An internal temperature of 205 to 210 degrees F (96 to 99 degrees C) confirms it is done.
Cool completely: Transfer the loaf to a wire cooling rack and resist cutting into it for at least 1 to 2 hours. The crumb continues to set as it cools, and cutting too early will leave it gummy.
Equipment
- Large mixing bowl
- Dough whisk or wooden spoon
- Bench scraper
- Banneton proofing basket (or a bowl lined with a kitchen towel)
- Dutch oven (5 to 7 quart)
- Bread lame or sharp razor blade
- Parchment paper
- Instant-read thermometer
- Wire cooling rack
Notes
Serving, Storing, and Endless Variations
Fresh homemade sourdough bread needs almost nothing. A thick slab with good salted butter is a religious experience. Beyond that, it shines as the base for avocado toast, alongside a hearty soup, grilled into bruschetta, or layered into a pull apart bread with garlic butter and herbs.
A few favorite variations to explore once you have the base down:
- Seeded crust: Roll the shaped boule in a mix of sesame, poppy, and sunflower seeds before proofing.
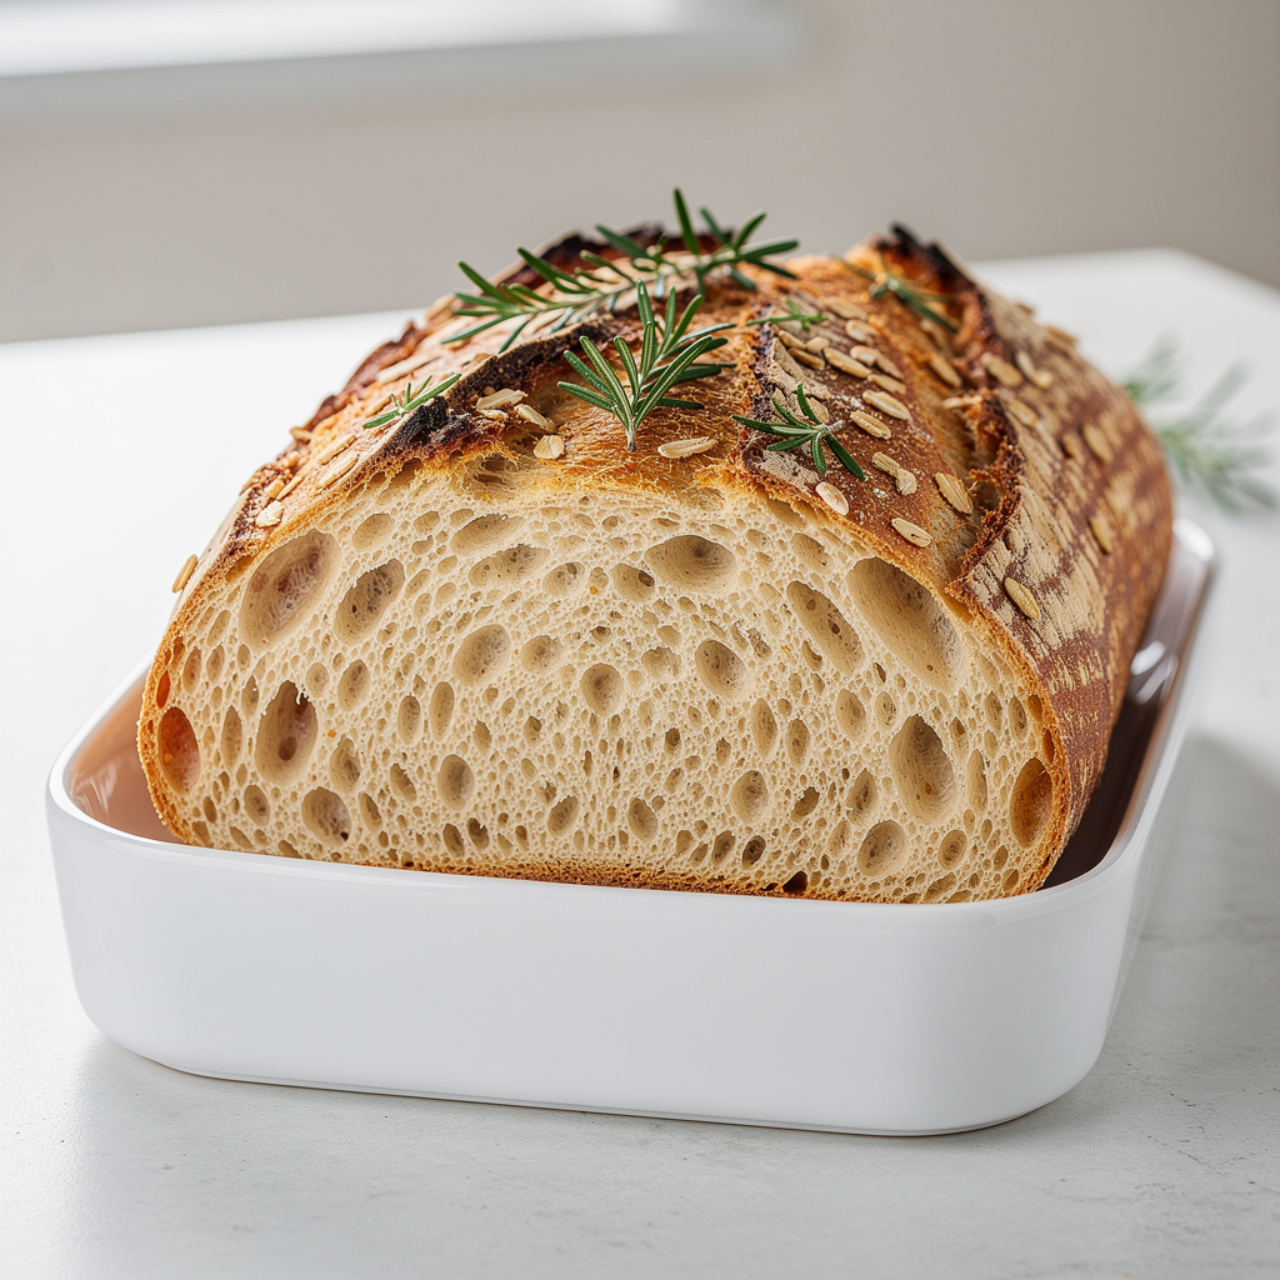
- Rosemary olive oil: Fold in two tablespoons of olive oil and one tablespoon of fresh rosemary during the stretch-and-fold phase.
- Whole wheat: Replace up to 20 percent of the bread flour with whole wheat for a nuttier, earthier loaf.
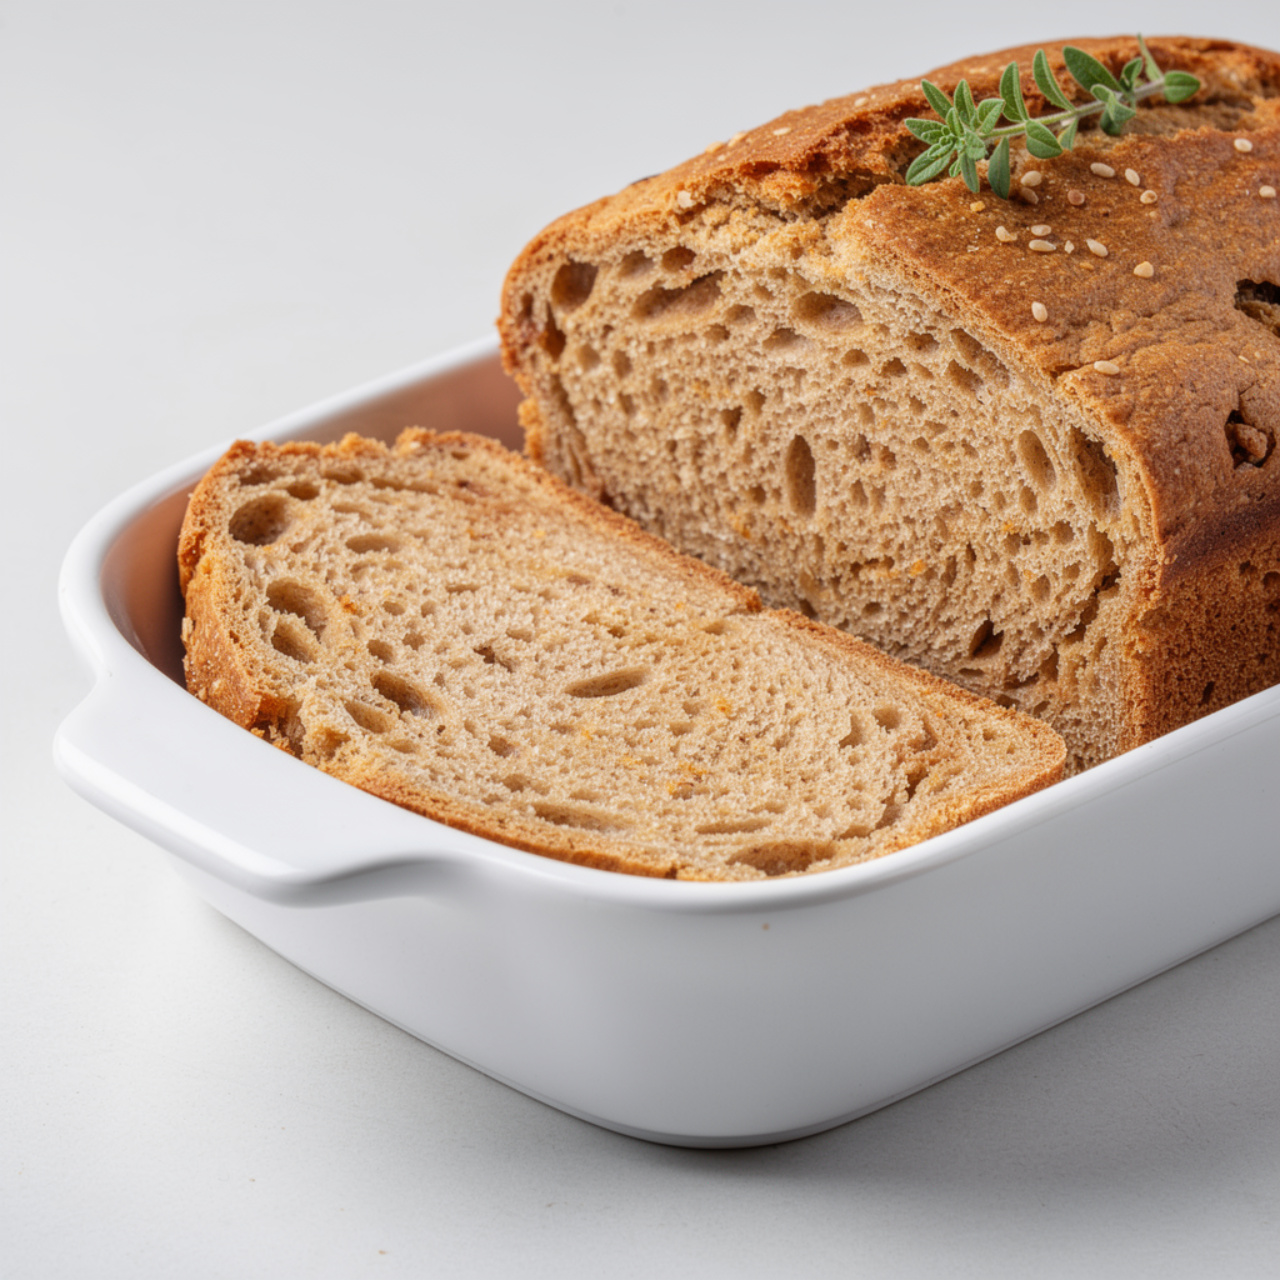
- Jalapeño cheddar: Fold in diced pickled jalapeños and shredded sharp cheddar during the final stretch-and-fold for a crowd-pleasing pull apart bread variation.
For storage, keep the fully cooled loaf cut-side down on a cutting board, loosely wrapped in a kitchen towel. It will stay fresh for up to three days. Sourdough actually freezes beautifully too. Slice the whole loaf, layer the slices between parchment, and freeze in a bag. Toaster-fresh sourdough on a weekday morning is genuinely one of life's underrated pleasures.
Why You Should Start Sourdough Baking Today
Sourdough baking is slower than most things we do in the kitchen, and that is exactly the point. It asks you to slow down, pay attention, and trust a process. The reward is a loaf of homemade sourdough bread that is incomparably better than anything on a grocery store shelf and a skill that will feed your family for years to come.
Start with this recipe. Feed your starter tonight. Bake this weekend. You have got this.