Homemade Honey Wheat Bread (Soft, Easy, and Beginner-Friendly)
This easy homemade honey wheat bread is soft, hearty, and made with wholesome whole wheat flour. Perfect for beginners, this simple loaf comes together with just a handful of pantry staples.

The Only Homemade Honey Wheat Bread Recipe You Will Ever Need
There is something deeply satisfying about pulling a golden loaf of homemade wheat bread out of the oven. The smell alone is worth it. This easy homemade whole wheat bread recipe produces a soft, slightly sweet, hearty loaf that is miles better than anything from the store shelf. Whether you are searching for easy whole wheat bread recipes for beginners or you are a seasoned home baker ready to ditch the preservatives for good, this is the recipe that delivers every single time.
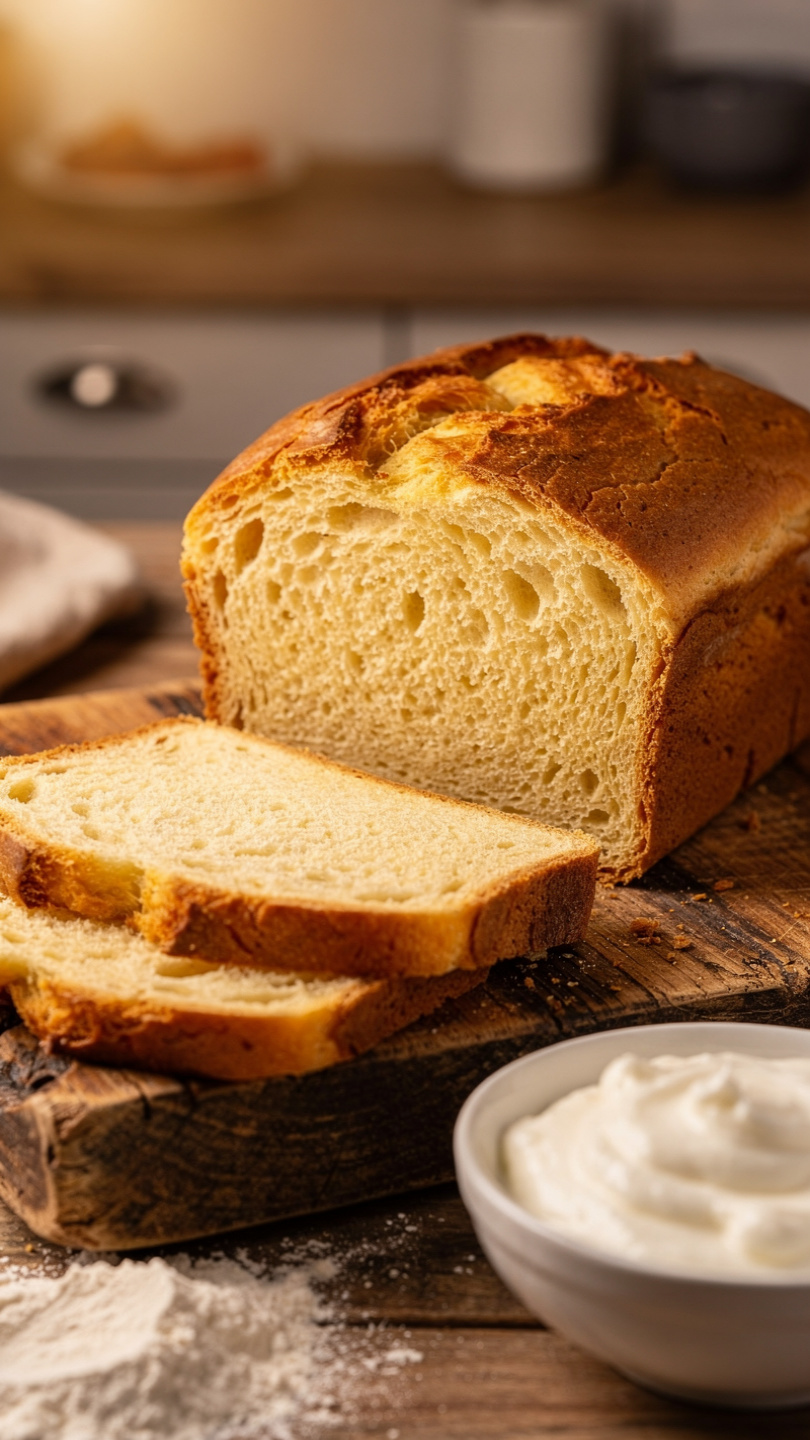
This is the kind of homemade honey wheat bread your grandmother might have made, warm and honest, with a tender crumb and a crust that has just the right amount of chew. It slices beautifully for sandwiches, toasts up perfectly with butter, and makes the whole house smell incredible.
Why This Recipe Works for Beginners
A lot of beginner bread recipes promise simplicity and then bury you in confusing steps. Not this one. The homemade wheat bread instructions here are written in plain language and designed to help you succeed on your very first bake. Here is what makes this recipe approachable:
- A blend of flours. Using a mix of whole wheat and all-purpose flour gives you all the nutty, wholesome flavor of whole wheat bread without the dense, heavy texture that can discourage new bakers.
- Honey for flavor and tenderness. Beyond the subtle sweetness, honey feeds the yeast and helps the crumb stay soft longer. It is the secret behind every great homemade honey wheat bread recipe.
- One standard packet of yeast. No measuring to the half-gram. One 0.25-ounce packet of active dry yeast is exactly what you need.
- Two simple rises. No overnight cold ferment required. Start in the morning and have fresh bread by lunch.
Chef's Tip: The biggest mistake beginners make is using water that is too hot. Anything above 115 degrees F will kill your yeast before the bread even starts. Aim for warm bath water, comfortable on the inside of your wrist.
Choosing the Right Flour and Tools
For a loaf like this, the quality of your whole wheat flour really does matter. A fresh, stone-ground whole wheat flour will give you a deeper, nuttier flavor than a generic grocery store brand that has been sitting on the shelf for months. Look for a flour with the germ and bran still intact for the best nutrition and taste.
Having the right kitchen tools also makes the process smoother and more enjoyable. A reliable stand mixer with a dough hook will save your arms during the kneading step, and a proper 9x5 inch loaf pan ensures even baking and a beautiful rise.
The Key to a Soft, Airy Whole Wheat Loaf
The reason so many homemade whole wheat bread loaves come out heavy and dense is simple: whole wheat flour is harder to work with than white flour. The bran particles in whole wheat actually cut through gluten strands as the dough develops, which limits how much the bread can rise.
Here is how this recipe gets around that:
- Vital wheat gluten is an optional but highly recommended addition. Just one tablespoon strengthens the dough structure and gives you a noticeably lighter crumb.
- Proper kneading is non-negotiable. Whether you knead by hand or use a stand mixer, the dough needs a full 8 minutes to develop the elasticity it needs to trap gas and rise properly.
- Two full rises give the yeast time to do its work. Do not rush the process, especially the second rise in the pan. That crown above the rim is what gives you a beautiful, bakery-style loaf.
Chef's Tip: To test if your dough has been kneaded enough, poke it with your finger. It should spring back slowly but completely. If it leaves a permanent dent, keep kneading.
Ready to Bake? Here Is the Full Recipe
Everything you need to make this easy homemade whole wheat bread is right below. Follow the steps, trust the process, and get ready for the best loaf you have ever made at home.
Homemade Honey Wheat Bread (Soft, Easy, and Beginner-Friendly)
This easy homemade honey wheat bread is soft, hearty, and made with wholesome whole wheat flour. Perfect for beginners, this simple loaf comes together with just a handful of pantry staples.
Ingredients
- 2 cups whole wheat flour, spooned and leveled
- 1 cup all-purpose flour, plus more for kneading
- 2 1/4 tsp active dry yeast, one standard packet
- 1 cup warm water, between 100 and 110 degrees F
- 3 tbsp honey, raw or regular both work
- 2 tbsp olive oil, or melted butter
- 1 tsp salt
- 1 tbsp vital wheat gluten, optional but helps with rise and texture
Instruction
In a large bowl or the bowl of a stand mixer, combine the warm water, honey, and yeast. Stir gently and let it sit for 5 to 10 minutes until the mixture looks foamy and smells yeasty. If nothing happens, your yeast may be expired.
Add the olive oil and salt to the yeast mixture and stir to combine.
Add the whole wheat flour and mix until a shaggy dough forms. If using vital wheat gluten, add it with the flour.
Add the all-purpose flour a little at a time, mixing as you go, until the dough pulls away from the sides of the bowl and is only slightly tacky.
Turn the dough out onto a lightly floured surface and knead by hand for 8 to 10 minutes, or use a stand mixer with a dough hook on medium speed for 6 to 8 minutes. The dough should be smooth, elastic, and spring back when poked.
Shape the dough into a ball and place it in a lightly oiled bowl. Cover with plastic wrap or a clean kitchen towel and let it rise in a warm spot for 1 to 1.5 hours, or until doubled in size.
Punch the dough down to release the air. Shape it into a tight log and place it seam-side down into a greased 9x5 inch loaf pan.
Cover loosely and let the dough rise again for 45 minutes to 1 hour, until it crowns about 1 inch above the rim of the pan.
While the dough completes its second rise, preheat your oven to 375 degrees F (190 degrees C).
Bake the loaf for 30 to 35 minutes, until the top is deep golden brown and the loaf sounds hollow when tapped on the bottom. An internal temperature of 190 to 200 degrees F confirms it is done.
Remove from the pan immediately and let the bread cool on a wire rack for at least 30 minutes before slicing. Cutting too soon will give you a gummy crumb.
Equipment
- Large mixing bowl
- Stand mixer with dough hook (optional)
- 9x5 inch loaf pan
- Kitchen thermometer
- Wire cooling rack
- Plastic wrap or kitchen towel
Notes
Serving, Storing, and Variations
This homemade honey wheat bread is at its absolute best the day it is baked, still slightly warm with a pat of good butter melting into every slice. But it holds up beautifully for days, which makes it ideal for weekly meal prep.
Ways to enjoy it:
- Thick slices for classic peanut butter and honey sandwiches
- Toasted and topped with avocado and a fried egg
- Torn into chunks alongside a hearty soup or stew
- French toast the next morning with any slightly stale slices
Easy variations to try:
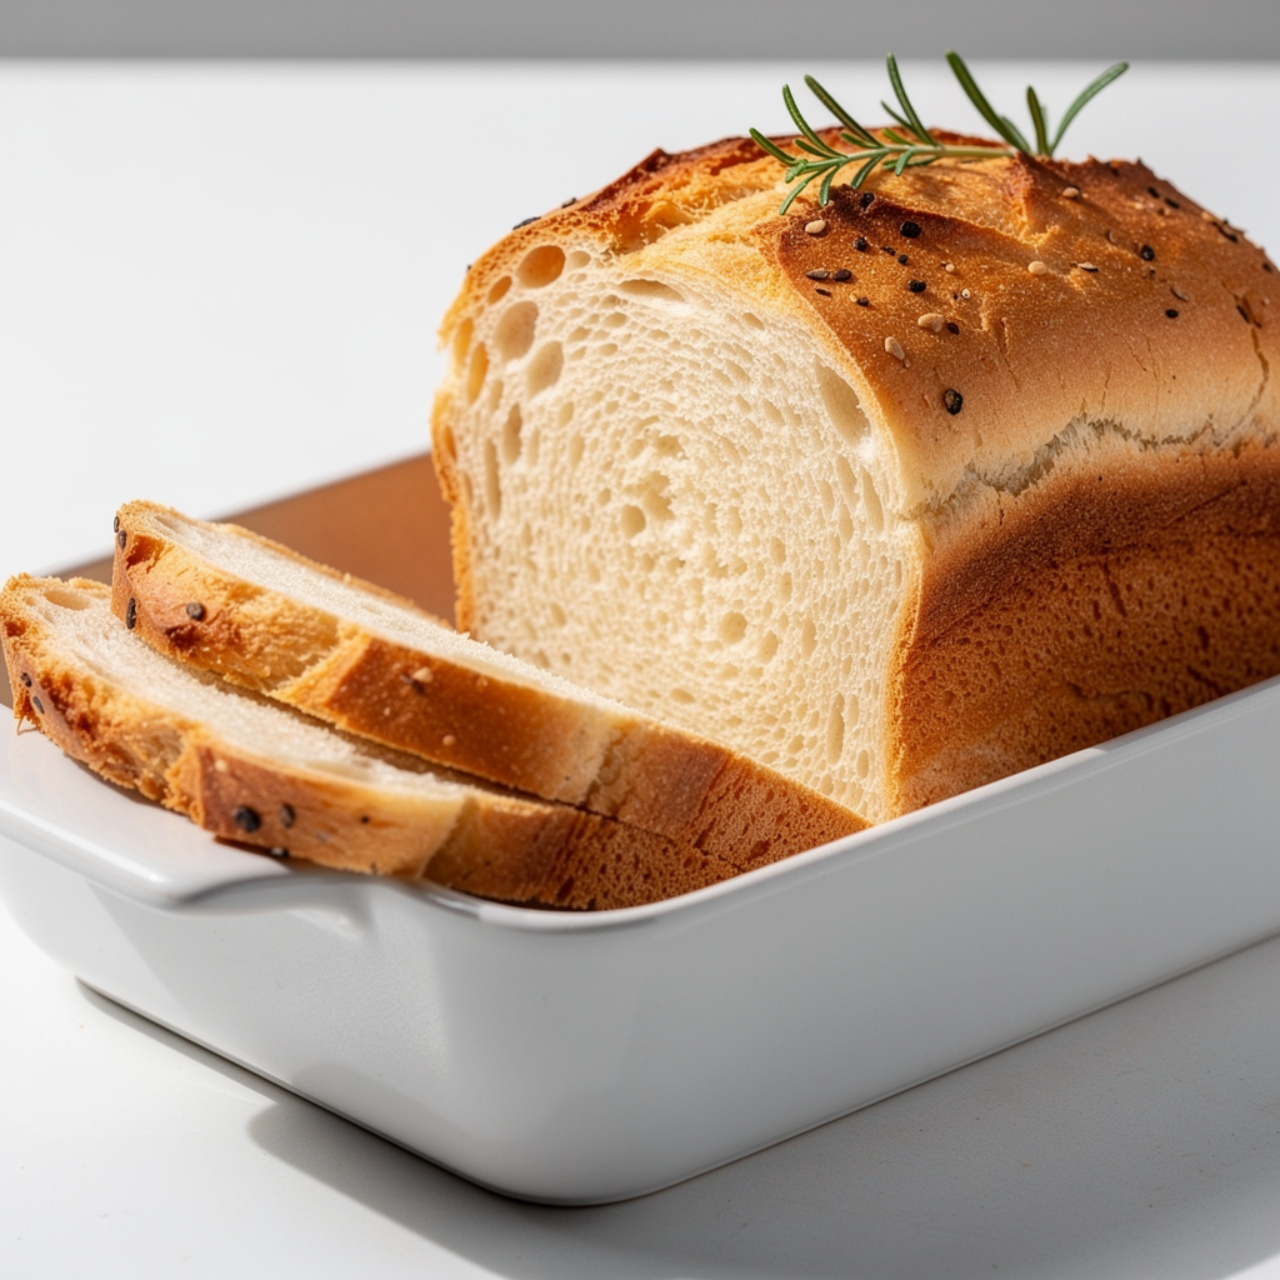
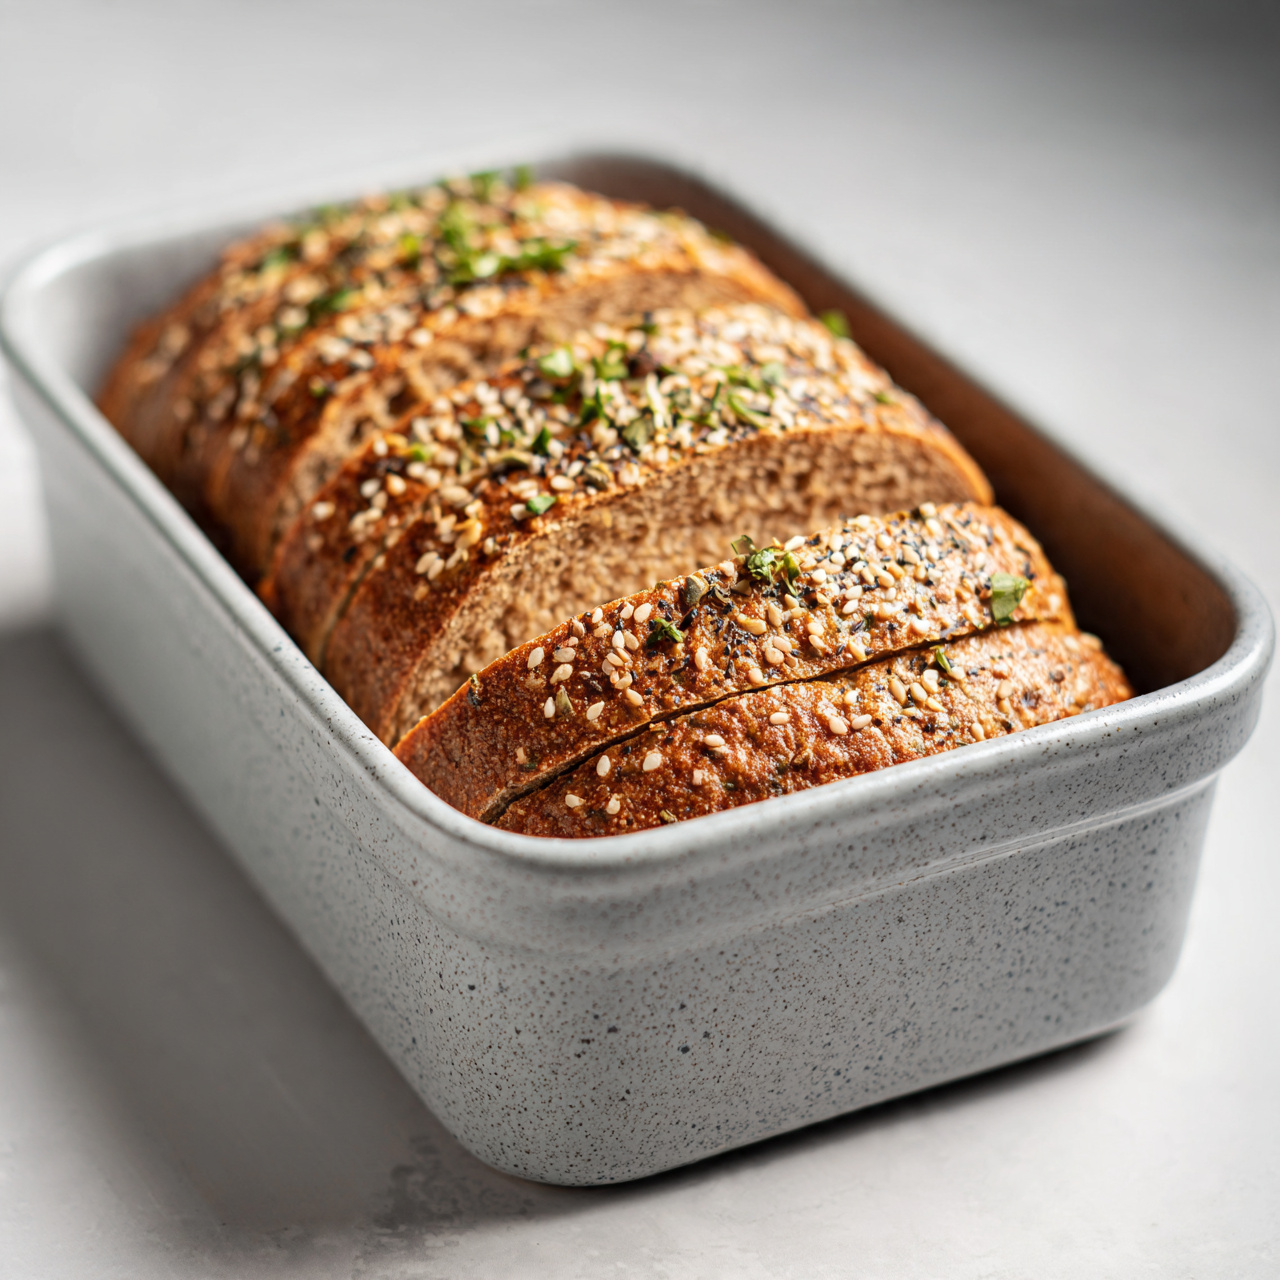
- Seeded loaf: Press sesame seeds, sunflower seeds, or rolled oats into the top of the loaf just before baking.
- Cinnamon honey wheat: Add 1 teaspoon of cinnamon and an extra tablespoon of honey for a lightly sweet, aromatic variation that is incredible toasted.
- Dairy enriched: Swap the water for warm whole milk for an even softer, richer crumb.
Once you have made this loaf once, you will wonder why you ever bought bread from the store. Homemade wheat bread is one of those kitchen wins that sounds impressive but is genuinely simple once you know the steps. Enjoy every slice.