Classic Amish White Bread Recipe (Soft, Fluffy, and Homemade)
This classic Amish White Bread recipe produces the softest, most pillowy homemade loaf you will ever pull from your oven. Simple pantry ingredients and a foolproof method make this the best Amish bread recipe for beginners and seasoned bakers alike.

The Softest Homemade Amish White Bread You Will Ever Make
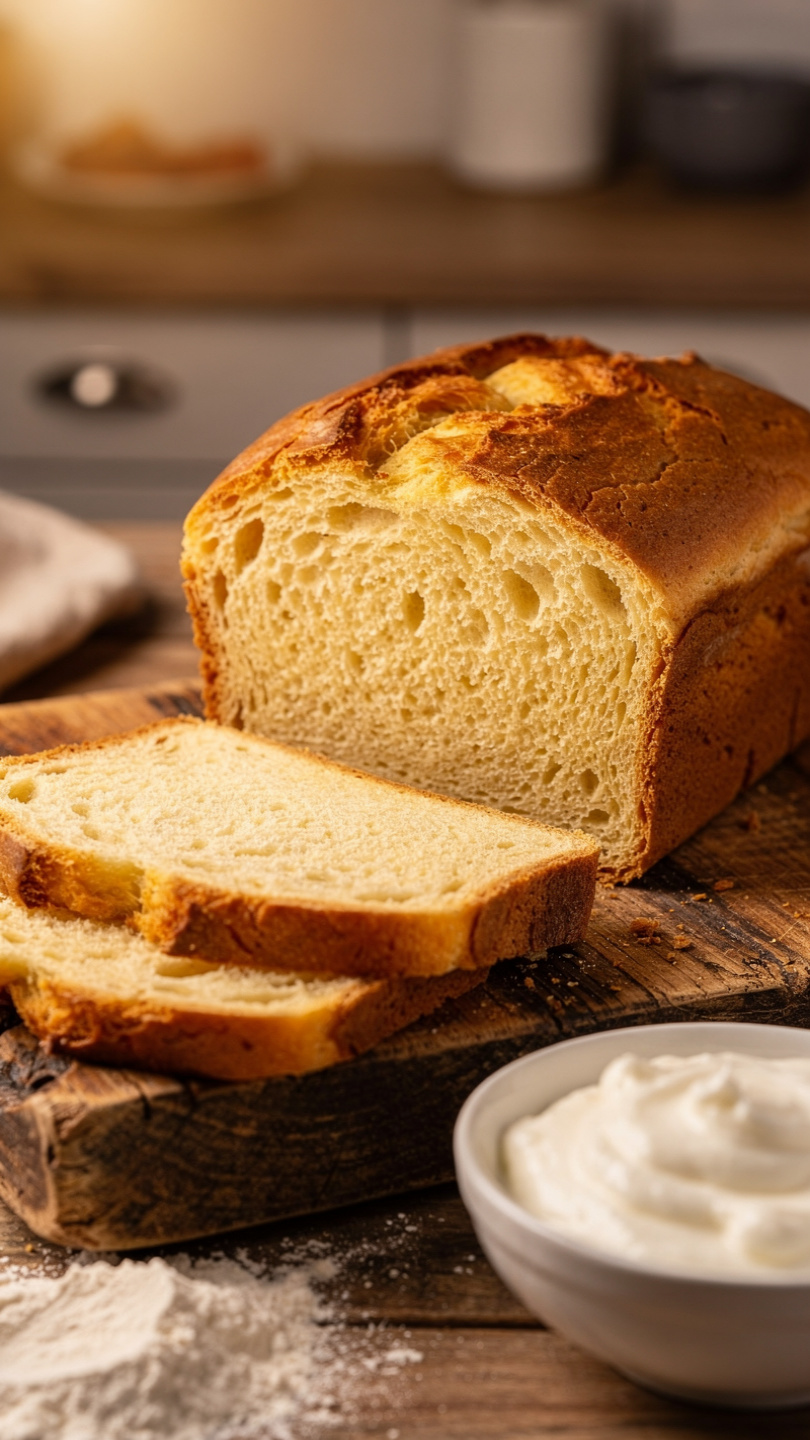
There is a reason this classic Amish white bread recipe has been passed down through generations of home kitchens. It is impossibly soft, lightly sweet, and produces two gorgeous golden loaves with nothing more than pantry staples and a little patience. Whether you are brand new to bread baking or looking for the best Amish bread recipe to add to your weekly rotation, this one delivers every single time.
Unlike sourdough or artisan breads that demand days of planning, this homemade Amish bread comes together in an afternoon. The dough is forgiving, the rise is reliable, and the result is a fluffy, pillowy loaf that slices beautifully for sandwiches, toast, or just a thick slab slathered with real butter.
Why This Recipe Works
The magic of traditional Amish yeast bread lies in its simplicity. A generous amount of sugar feeds the yeast and gives the bread its signature gentle sweetness. A small pour of vegetable oil keeps the crumb tender for days rather than hours. And a long, relaxed knead builds just enough gluten structure to hold those soft, airy air pockets in place.
This is not a recipe that requires any special techniques or hard-to-find ingredients. It is the definition of Amish loaf bread: humble, honest, and absolutely delicious.
Getting the best results from this Amish white bread recipe homemade really does come down to using the right tools. A quality stand mixer with a dough hook makes kneading effortless, and sturdy 9x5-inch loaf pans ensure an even bake with that classic high crown.
Tips for Perfect Amish Bread Every Time
Before you dive in, here are a few things that will make a real difference in your finished loaves:
- Check your yeast first. If your yeast mixture does not foam up within 10 minutes, do not proceed. Expired or heat-killed yeast means dense, flat bread.
- Do not pack your flour. Spoon it into the measuring cup and level it off. Packed flour produces dry, heavy dough.
- Warm is your friend. Let your dough rise somewhere cozy, like on top of the fridge or inside an oven with just the light on. A cold kitchen slows everything down.
- Watch the dough, not the clock. Both rises are done when the dough has doubled, not when a timer goes off.
Chef's Tip: For the absolute softest crust on your easy Amish bread, brush the tops of the hot loaves with a generous pat of salted butter the moment they come out of the oven. It creates a golden, buttery sheen and keeps the crust from becoming tough as the bread cools.
How to Make Amish Bread: The Process
Learning how to make Amish bread is genuinely one of the most satisfying kitchen projects you can take on. The process follows a simple rhythm: mix, knead, rise, shape, rise again, bake. Once you have done it once, it becomes second nature.
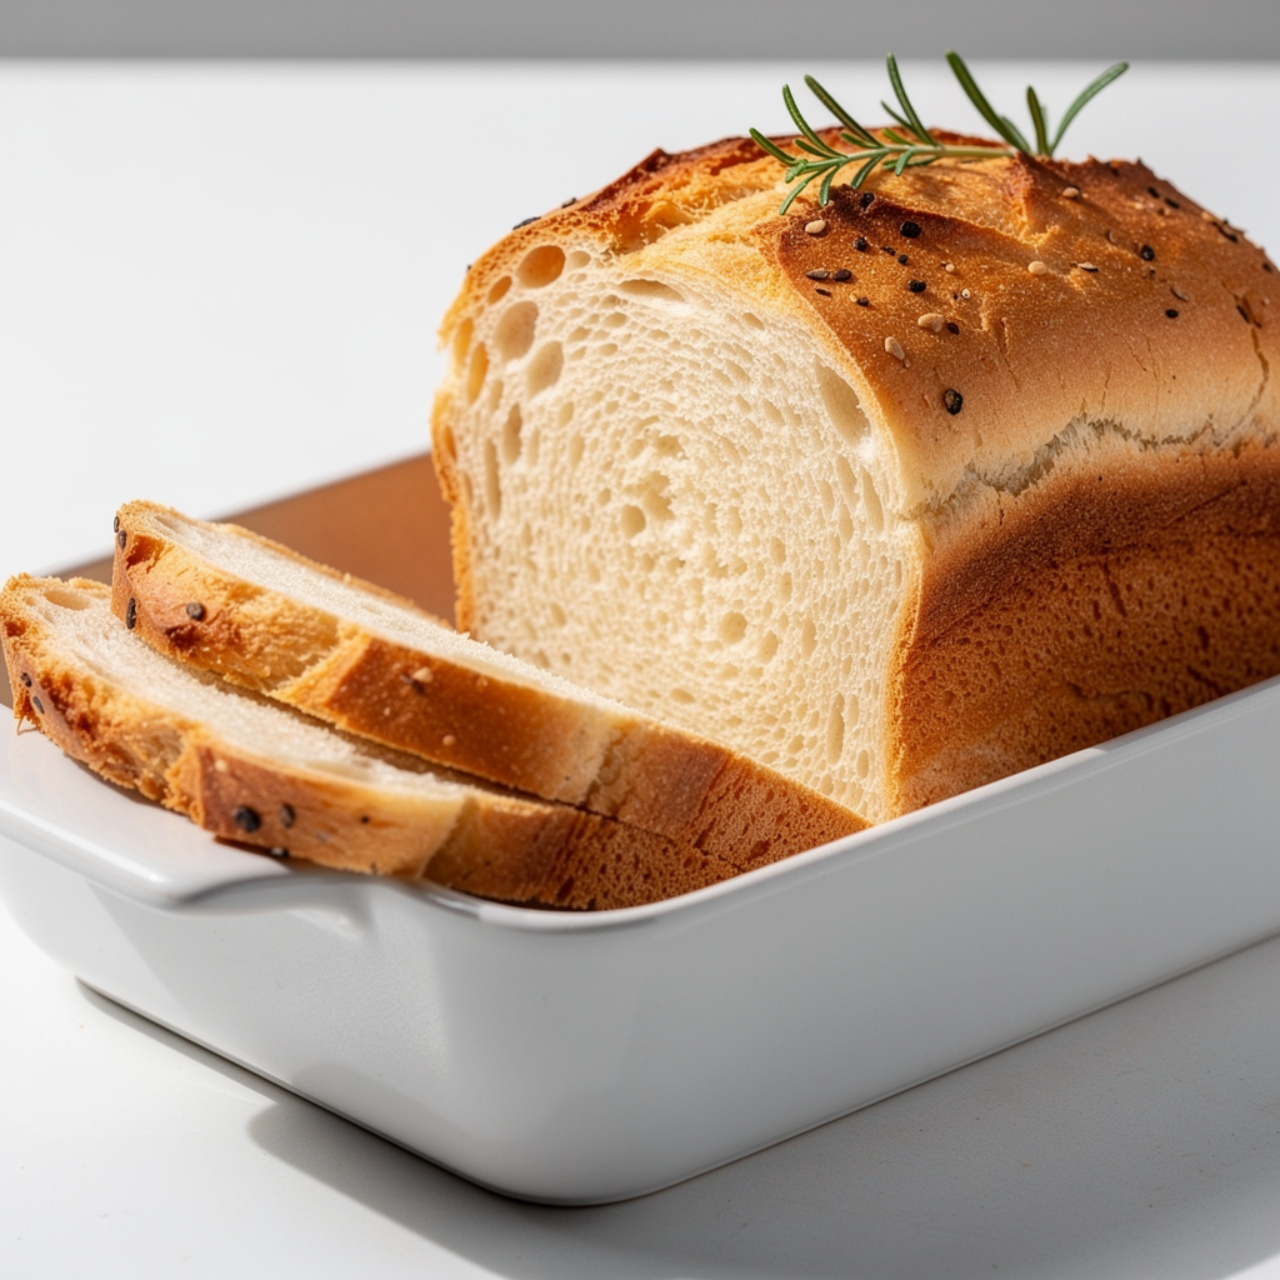
The first rise builds flavor and structure. The second rise, done directly in the loaf pans, is what gives the bread that beautiful domed top you see in every classic Amish white bread recipe photo. Do not rush either rise. The waiting is where all the good stuff happens.
This recipe makes two full loaves, which is intentional. One for now, one for the freezer. Or one for a neighbor, because homemade bread is always a welcome gift.
Ready to bake the best loaves of your life? Here is the full step-by-step recipe:
Classic Amish White Bread Recipe (Soft, Fluffy, and Homemade)
This classic Amish White Bread recipe produces the softest, most pillowy homemade loaf you will ever pull from your oven. Simple pantry ingredients and a foolproof method make this the best Amish bread recipe for beginners and seasoned bakers alike.
Ingredients
- 2 cups warm water, between 105-115 degrees F to activate yeast
- 5/8 tbsp active dry yeast, two standard 0.25 oz packets
- 5/8 cups granulated white sugar, divided; feeds the yeast and sweetens the loaf
- 1/4 cups vegetable oil, or canola oil
- 1 1/2 tsp salt
- 6 cups all-purpose flour, spooned and leveled; do not pack the cup
Instruction
In a large mixing bowl, combine the warm water, yeast, and 1 tablespoon of the sugar. Stir gently and let the mixture sit for 5 to 10 minutes until it becomes foamy and fragrant. If it does not foam, your yeast may be expired or your water was too hot.
Add the remaining sugar, vegetable oil, and salt to the yeast mixture. Stir to combine.
Add the flour one cup at a time, stirring after each addition, until a soft dough forms and pulls away from the sides of the bowl. You may not need the full 6 cups.
Turn the dough out onto a lightly floured surface and knead by hand for 8 to 10 minutes until the dough is smooth, elastic, and springs back when poked. Alternatively, use a stand mixer with a dough hook on medium speed for 6 to 8 minutes.
Place the dough in a lightly oiled bowl and turn it once to coat. Cover with a clean kitchen towel or plastic wrap and let it rise in a warm place for 1 hour, or until it has doubled in size.
Punch down the risen dough and divide it evenly into two equal portions. Shape each portion into a smooth log and place each one into a greased 9x5-inch loaf pan.
Cover the pans loosely and let the loaves rise again for 30 minutes, or until the dough crowns about one inch above the rim of the pans.
While the dough is on its second rise, preheat your oven to 350 degrees F (175 degrees C).
Bake the loaves for 25 to 30 minutes, until the tops are deep golden brown and the loaves sound hollow when tapped on the bottom.
Remove the loaves from the oven and let them cool in the pans for 5 minutes, then transfer to a wire rack. For the softest crust, brush the tops immediately with a small pat of butter. Allow the loaves to cool for at least 20 minutes before slicing.
Equipment
- Large mixing bowl
- Two 9x5-inch loaf pans
- Stand mixer with dough hook (optional)
- Kitchen towel or plastic wrap
- Wire cooling rack
- Measuring cups and spoons
- Pastry brush
Notes
Serving, Storing, and Variations
This homemade Amish bread is incredible the moment it cools, but it also holds up beautifully for days. Use it for:
- Classic sandwiches with deli meat and mustard
- French toast on the second or third day when it is slightly drier
- Garlic bread under the broiler with herb butter
- Avocado toast with a sprinkle of flaky salt
For a variation closer to Amish sourdough bread, you can replace up to half a cup of the water with active sourdough discard. It adds a subtle tang without requiring a full sourdough process.
Store your loaves wrapped tightly in plastic wrap at room temperature for up to 4 days, or freeze sliced bread for up to 3 months. This Amish loaf bread may just become the most-requested thing you make all year.