Easy Homemade Shrimp Stock from Shells
Turn leftover shrimp shells into a rich, golden homemade shrimp stock that adds restaurant-quality depth to soups, risottos, and paellas in under an hour.

Don't Toss Those Shrimp Shells, Turn Them Into Liquid Gold
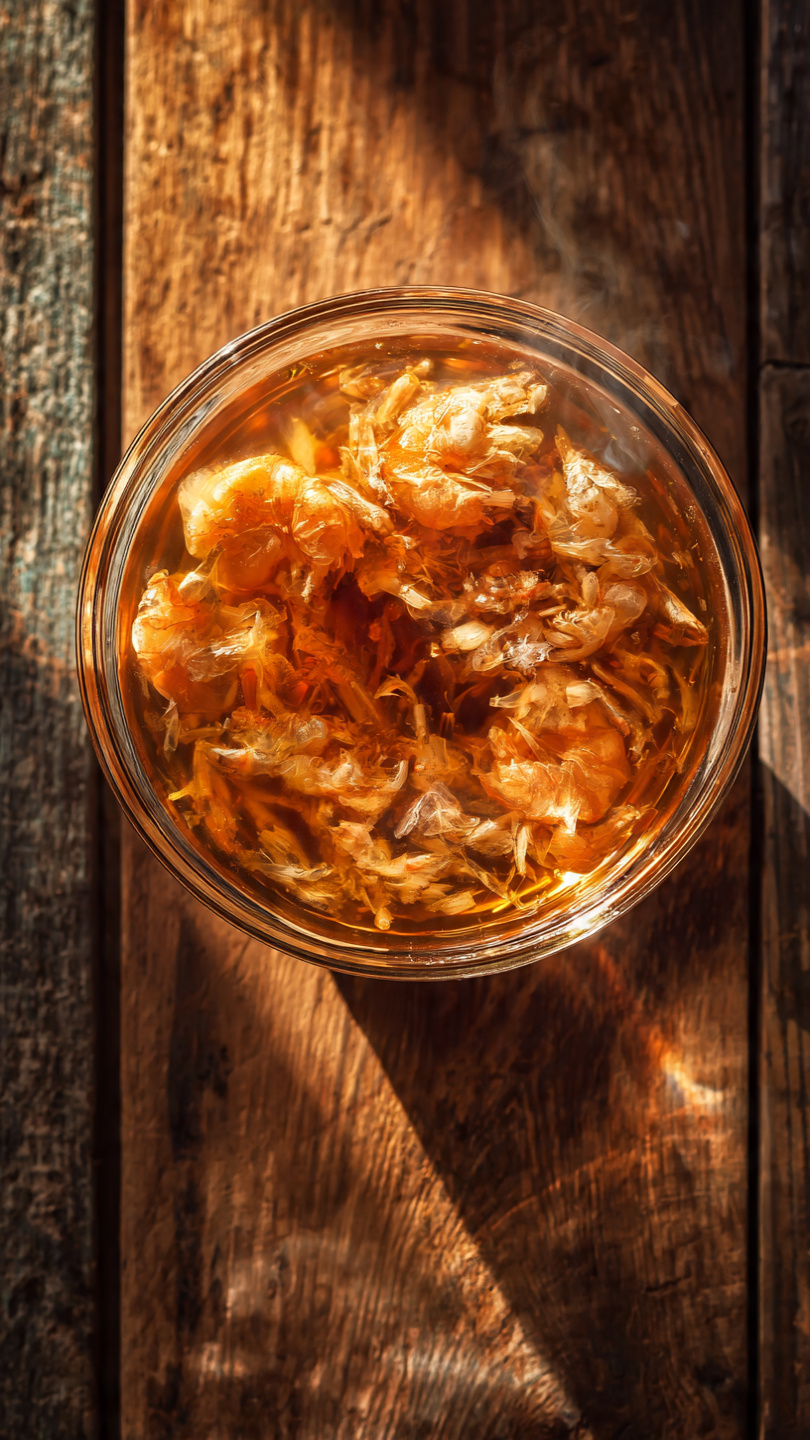
If you have ever peeled a pile of shrimp and tossed the shells straight into the trash, I am here to gently stage an intervention. Those shells are packed with briny, concentrated flavor that, with about ten minutes of prep and a little simmering, becomes a deeply savory homemade shrimp broth recipe you will want to keep on repeat. This is one of the easiest ways to turn kitchen scraps into something genuinely special.
Before we get cooking, the right tools and ingredients make a real difference here. A sturdy stockpot and a good fine mesh strainer are what separate a cloudy, so so stock from a clear, restaurant worthy one. These are the products that genuinely help this recipe shine:
Why Make Your Own Shrimp Stock
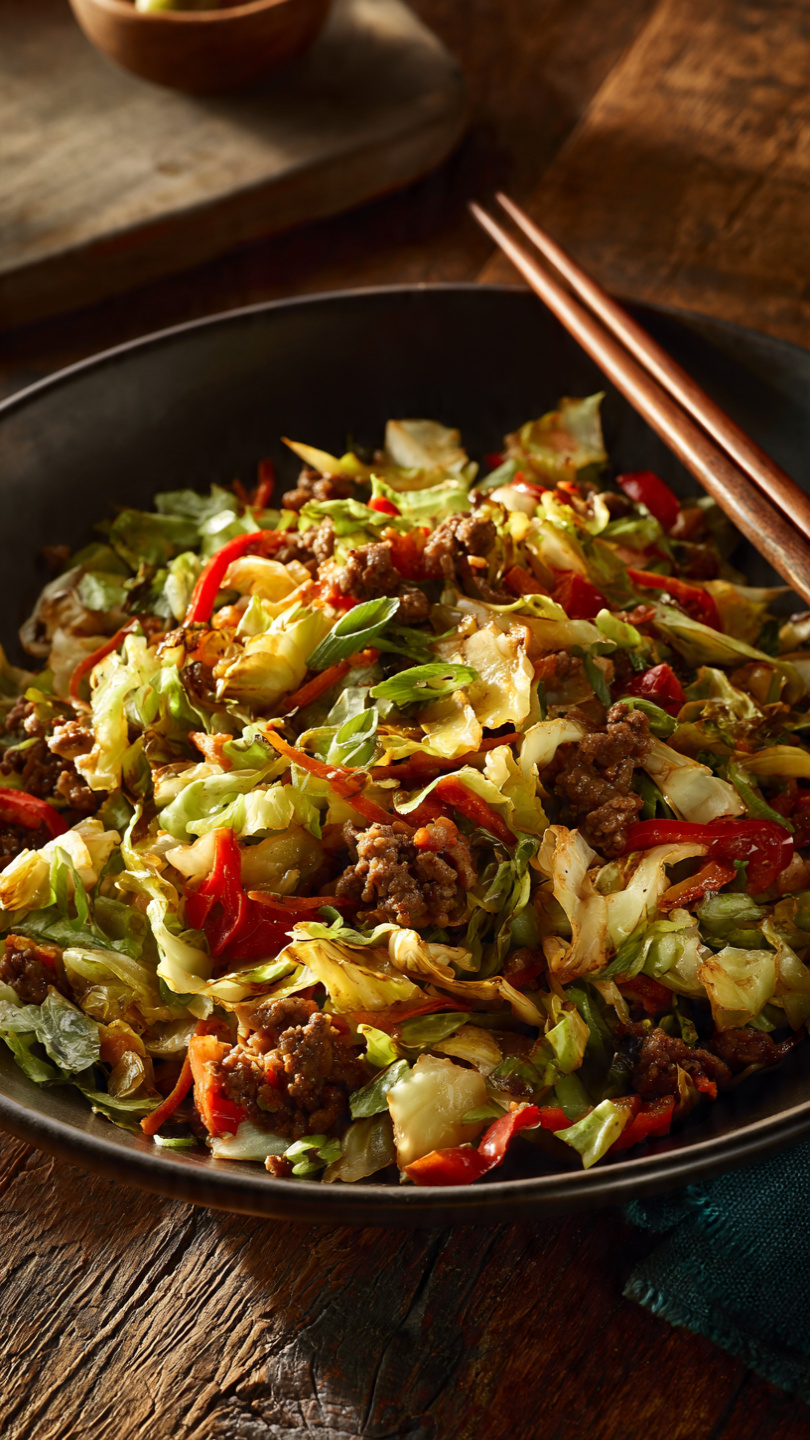
Homemade stock is one of those quiet kitchen wins. It costs almost nothing since you are using parts that would otherwise be thrown away, and it tastes noticeably better than anything from a carton. Once you taste the difference in a bowl of homemade shrimp soup recipe made with your own stock instead of water, you will understand why so many home cooks start saving their shells in a freezer bag.
This is also one of the easiest stocks you can make. Unlike beef or chicken stock, which can simmer for hours, shrimp stock only needs about 30 to 45 minutes to give up all of its flavor. Simmer it any longer and the shells can actually turn slightly bitter, so this is a rare case where less time really is more.
Chef's Tip: Save shrimp shells in a zip top bag in the freezer every time you cook shrimp. Once you have a pound or so, you have everything you need for a fresh batch of stock.
What Goes Into a Good Shrimp Stock
The ingredient list is short and forgiving, which is part of why this is such a shrimp stock recipe easy enough for a weeknight. Here is what is doing the heavy lifting:
- Shrimp shells and heads for the core seafood flavor, heads especially add richness
- Aromatic vegetables like onion, celery, and carrot for a savory backbone
- Garlic, bay leaves, and peppercorns for warmth and depth
- A spoonful of tomato paste for color and a subtle sweetness, completely optional but lovely
- Cold water to gently extract everything without overpowering the shrimp flavor
Notice there is no need for fancy equipment or hard to find ingredients. If you have ever wondered how to make shrimp stock from shrimp shells without a long ingredient list, this is genuinely it.
How To Make Shrimp Stock From Shrimp Shells
The process is simple and mostly hands off. Saute the shells first to wake up their flavor and coax out that gorgeous coral color, then build in the vegetables and aromatics before covering everything with water. From there it is just a low, lazy simmer while the stock slowly deepens in flavor.
The biggest thing to remember is to keep the heat gentle. A rolling boil will knock the fat and impurities into the liquid and leave you with a murky stock instead of a clear, golden one. Patience here pays off in both look and taste.
Ready to make it? Here is the full step by step recipe:
Easy Homemade Shrimp Stock from Shells
Turn leftover shrimp shells into a rich, golden homemade shrimp stock that adds restaurant-quality depth to soups, risottos, and paellas in under an hour.
Ingredients
- 1 lb shrimp shells and heads, saved from peeling raw shrimp, heads on if possible for extra flavor
- 1 tbsp olive oil, or butter
- 1 yellow onion, quartered, skin left on
- 2 stalks celery, roughly chopped, leaves included
- 1 carrot, roughly chopped, no need to peel
- 4 garlic cloves, smashed with the skin on
- 1 tbsp tomato paste, optional, deepens color and flavor
- 2 bay leaves
- 1 tsp black peppercorns, whole, not ground
- 1/4 cup fresh parsley stems, optional, stems only
- 8 cups cold water, enough to cover shells by about 2 inches
- 1/2 tsp kosher salt, optional, to taste at the end
Instruction
Heat the olive oil in a large stockpot over medium high heat. Add the shrimp shells and heads, then saute for 3 to 5 minutes, stirring often, until they turn bright pink orange and smell toasty.
Add the onion, celery, carrot, and garlic to the pot. Cook for 3 to 4 minutes, stirring occasionally, until the vegetables begin to soften slightly.
Stir in the tomato paste and cook for 1 minute, just until it darkens a shade and coats the shells.
Add the bay leaves, peppercorns, and parsley stems, then pour in the cold water until everything is covered by about 2 inches.
Bring the pot to a gentle boil, then immediately lower the heat so it simmers softly. A hard boil will cloud the stock, so keep it low and easy.
Simmer uncovered for 30 to 45 minutes, skimming off any foam that rises to the top with a spoon.
Remove the pot from the heat and let it cool for 10 minutes. Strain through a fine mesh strainer, lined with cheesecloth if you want extra clarity, into a large bowl or pot.
Discard the solids, taste the stock, and season with salt if needed. Use right away or cool completely before storing.
Equipment
- Large stockpot
- Fine mesh strainer
- Cheesecloth (optional)
- Wooden spoon
- Large heatproof bowl
- Ladle
Notes
Creative Uses For Shrimp Stock
Once you have a batch on hand, you will start finding excuses to use it. Some of the best uses for shrimp stock include:
- Swapping it in for water or chicken broth in a shrimp and corn chowder
- Using it as the simmering liquid for paella or seafood risotto
- Building the base for a quick shrimp bisque with a splash of cream
- Poaching fish or shrimp directly in it for extra flavor
- Simmering it down further with the shells for a concentrated reduction to drizzle over grilled seafood
If you really want to go all in on zero waste cooking, pair a batch of this stock with a homemade dried shrimp recipe using any small or broken shrimp pieces, and you will have two pantry staples from one shopping trip.
Storing and Freezing Your Stock
Let the stock cool completely before sealing it up. It will keep in the refrigerator for about 4 days, which is plenty of time to plan a soup night. For longer storage, freeze it in ice cube trays or a muffin tin, then pop the frozen portions into a freezer bag. That way you can pull out exactly as much as a recipe calls for, whether that is two tablespoons or two full cups.
Chef's Tip: Label your freezer bag with the date and amount per portion. Future you will be grateful when a recipe calls for a cup of stock and you are not left guessing.
However you use it, this little pot of homemade shrimp stock is proof that some of the best flavors in your kitchen are hiding in the parts you almost threw away.